After completed my first jigging rod in September last year, I found out that one was abit too heavy for lighter jigs and this time I am building a lighter one.
A lighter rod for lighter jigs.
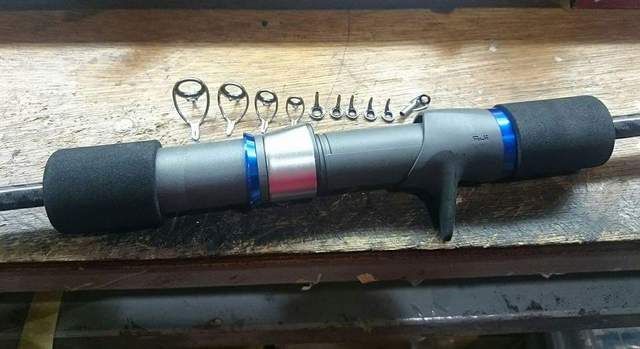
A simpler, lesser accessories jigging rod.
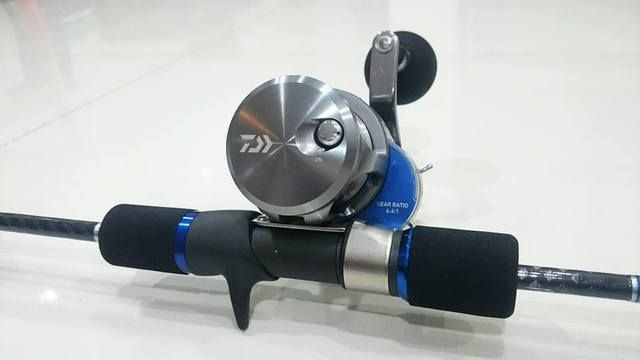
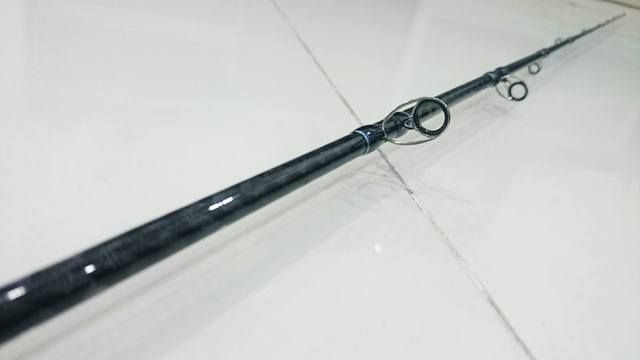
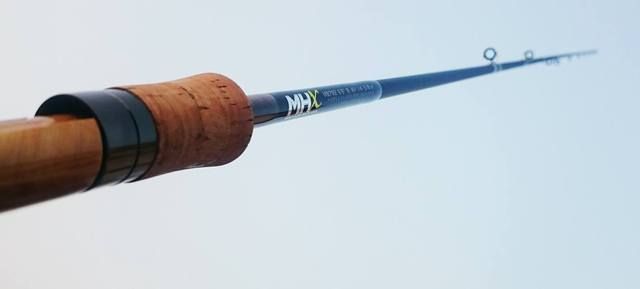
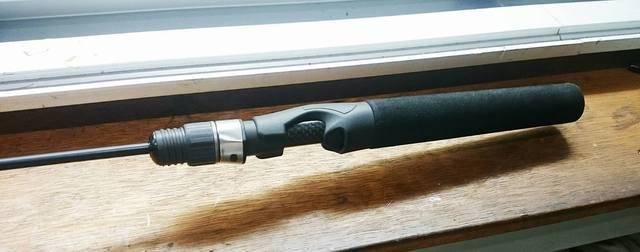
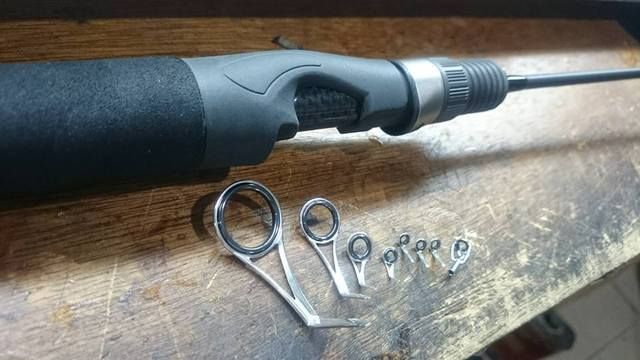
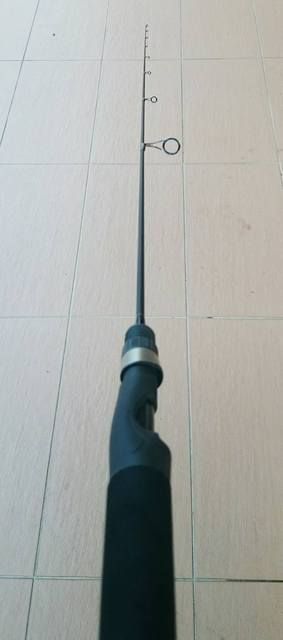
Trigger reel seat with a couple aluminum trims and titanium SiC guides.
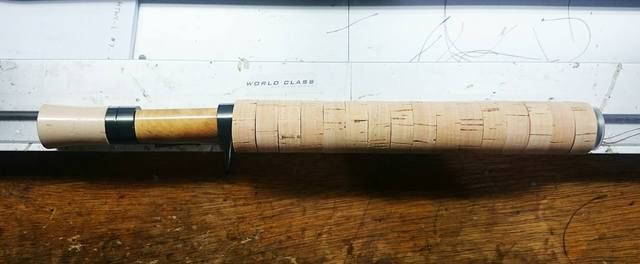
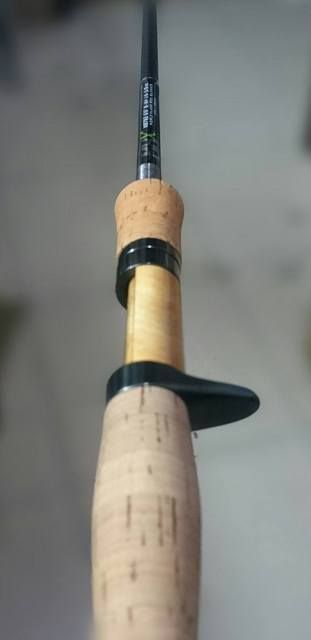
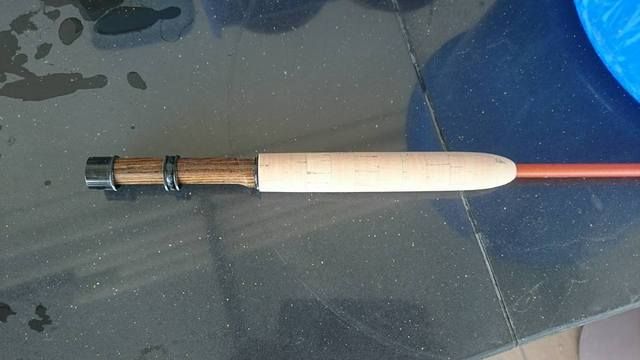
Handle parts setting up.
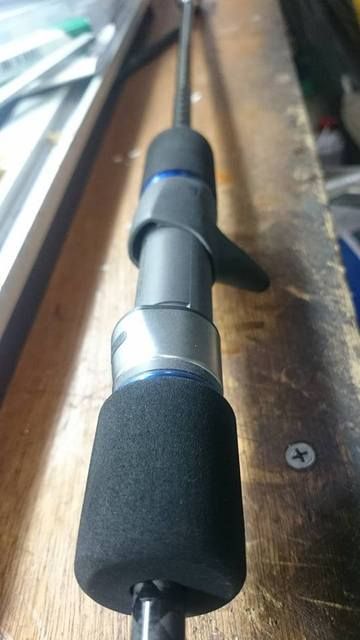
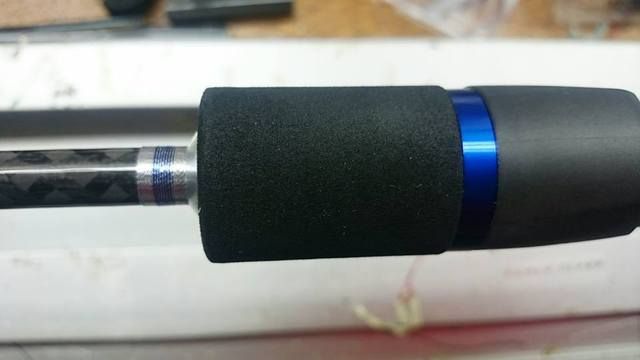
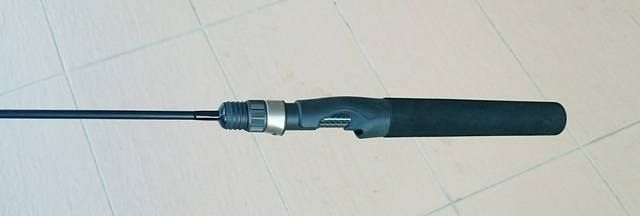
Aluminum winding check behind the rear EVA grip.
In goes the trigger reel seat with the anodize blue aluminum trim..
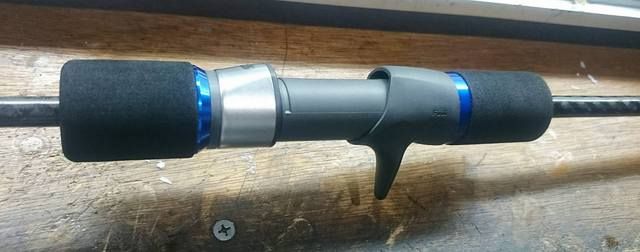
Fixing up the KDPS quick lock and EVA foregrip.
Then half of the fighting butt
Front view of the reel seat
The butt section
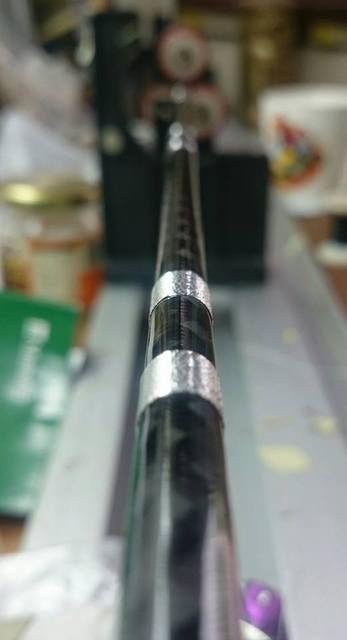
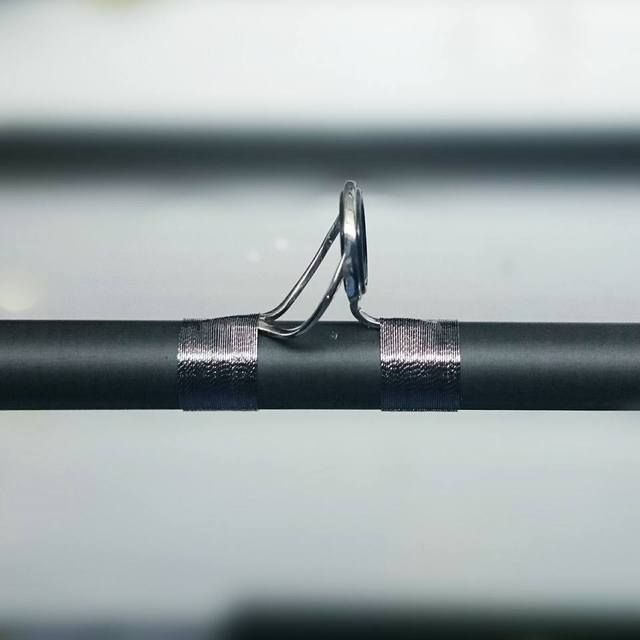
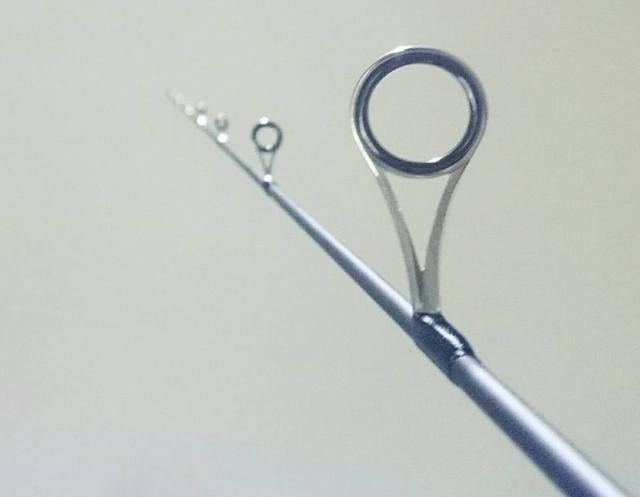
A layer of under wrapping before the guides are wrap onto the blank.
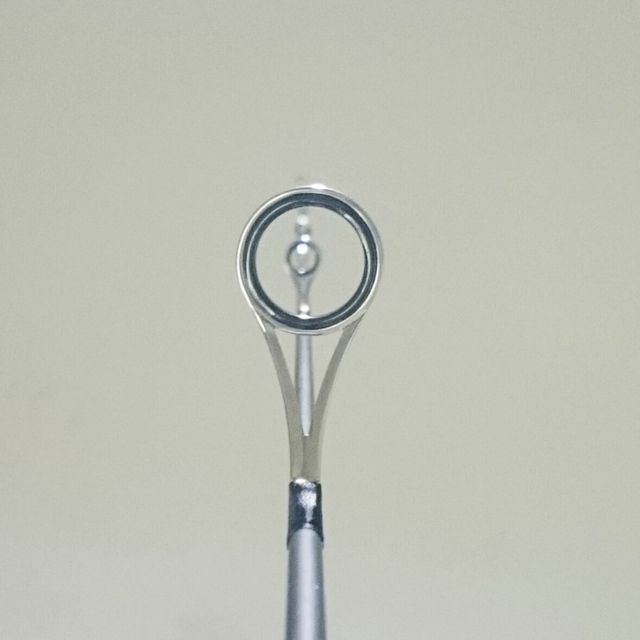
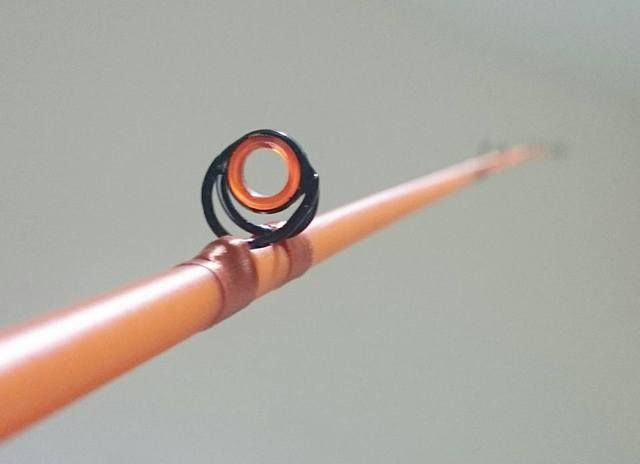
Titanium Sic guides on the blank in spiral placement.
Metallic wrapping at the aluminum trim for finishing off the rear grip of the long section of split rear handle.
Water transfer decal above the fore grip.
Wrapping it up and epoxy..
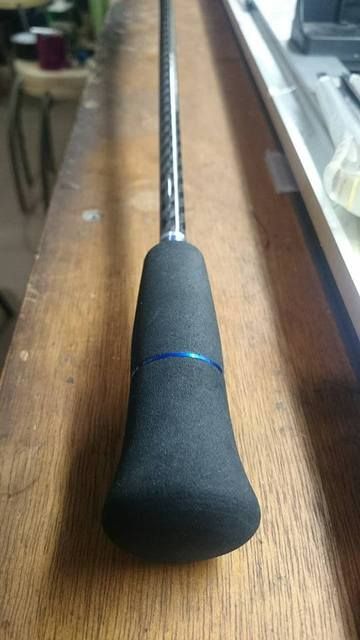
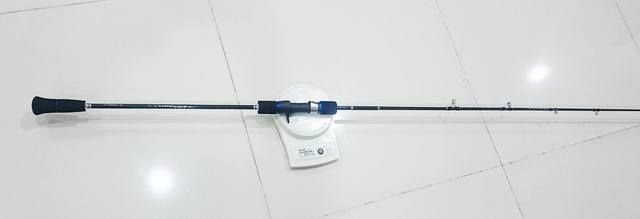
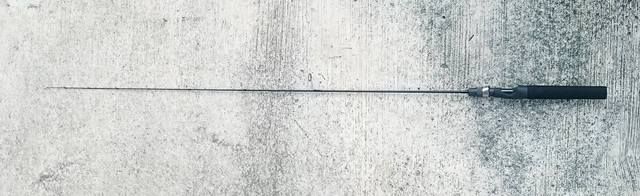
and finished..
There is a saying and fly fisherman love to say... "Matching the hatch"
but in the case, it is matching the reel.....
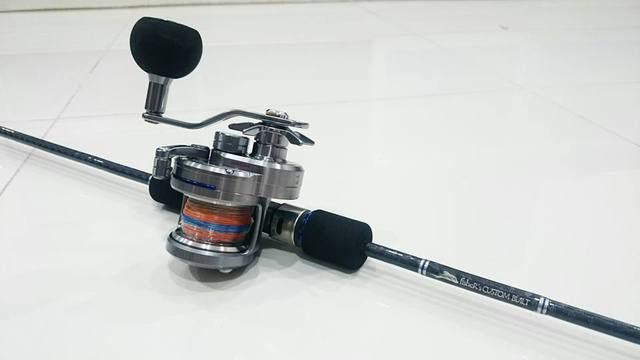
Matching the rod with Daiwa Saltiga.
Can you guess what is the weight of this completed jigging rod?
My rough guess was around 160 - 170 g .. perhaps.
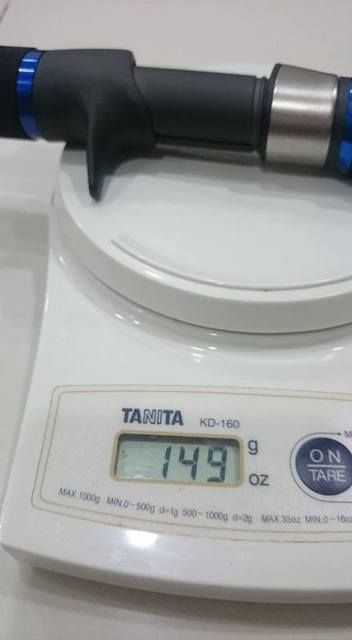
But I was wrong... It is only 149 grams (something like 5.25 oz)
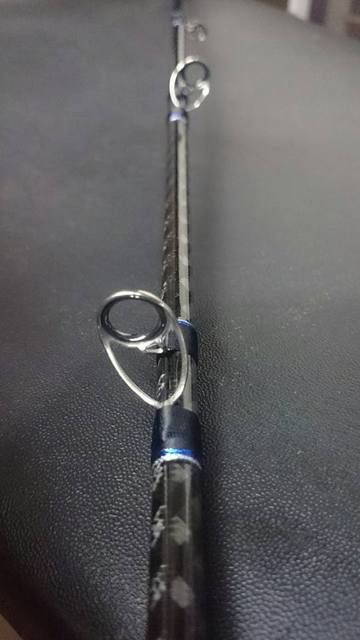
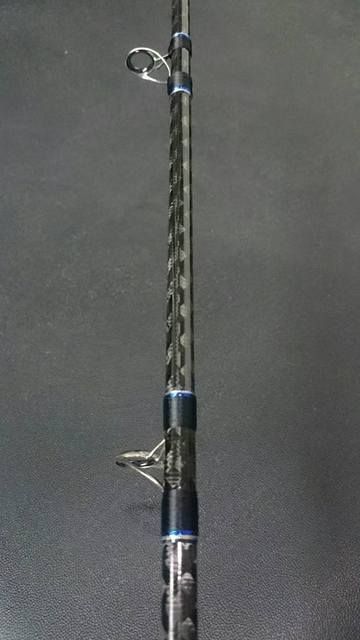
Spiral guide placement.
Matching the rod.. :)
They say "Start with the end in mind" is to imagine how would your built be when you have completed the rod. Is it going to be what you imagine it to be or it will be another disastrous built?
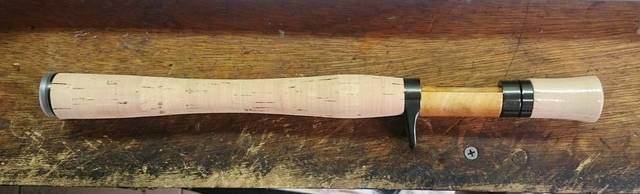
This is another MHX rod blank project, 6'6" 8-14lb , fast action medium power.
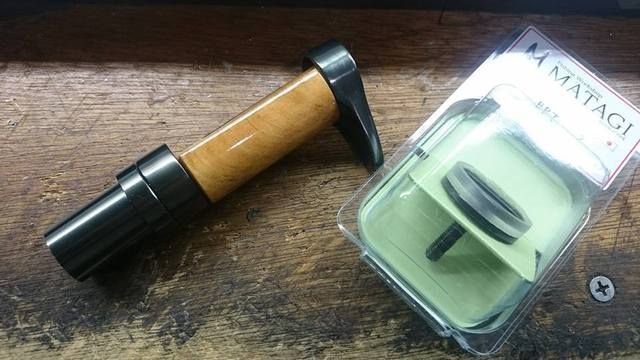
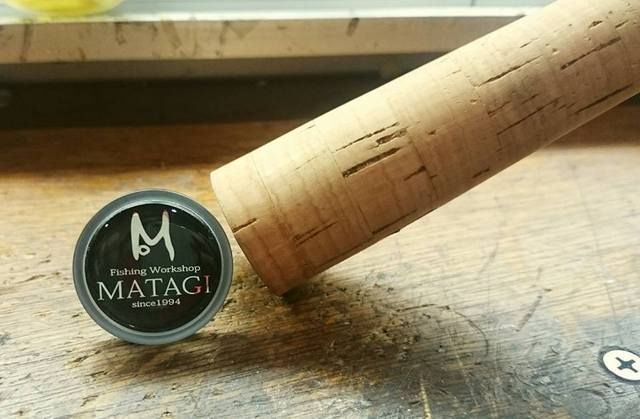
Tastefully selected Andrew's fishing reel seat and MATAGI butt cap.
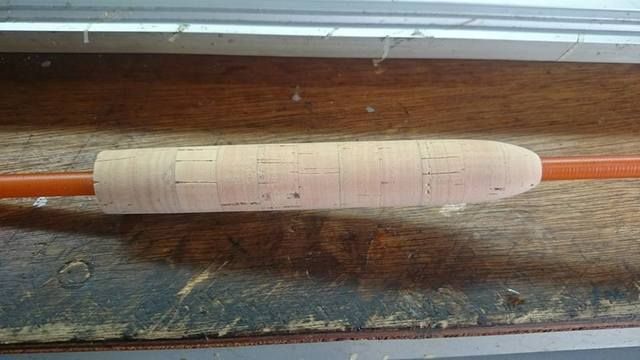
Preform cork fore grip
Cork rings for rear handle.
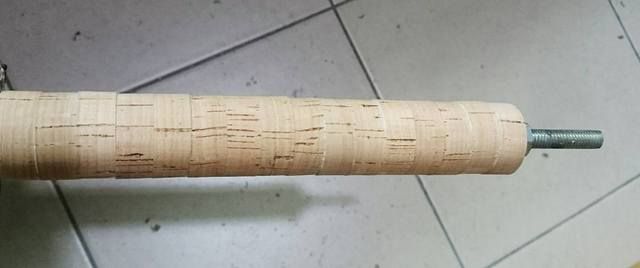
Stacked, glued and ready to be shape.
Shaped cork handle pre-fitting
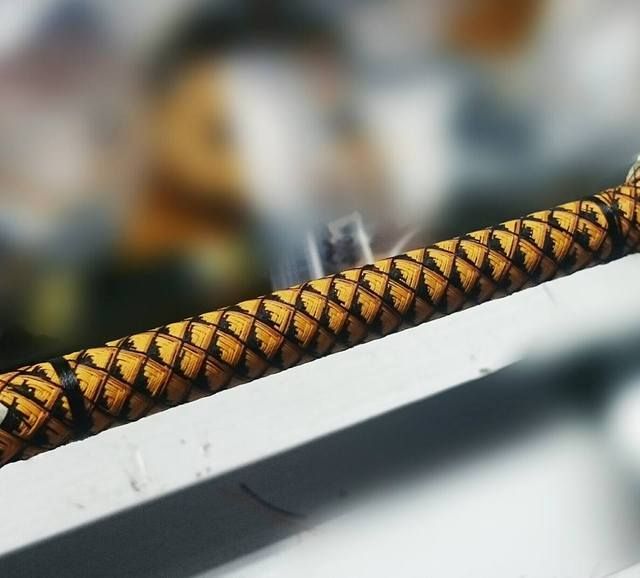
Trying some new weaving pattern. Not that perfect but I guess it should be okay.
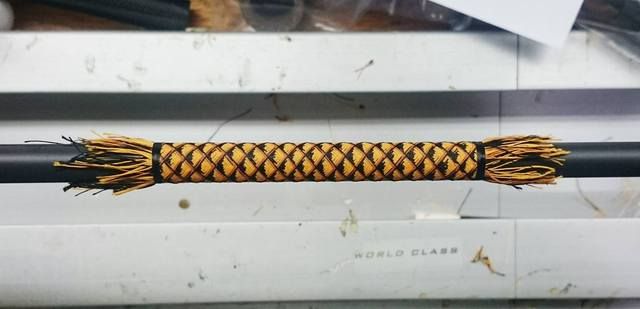
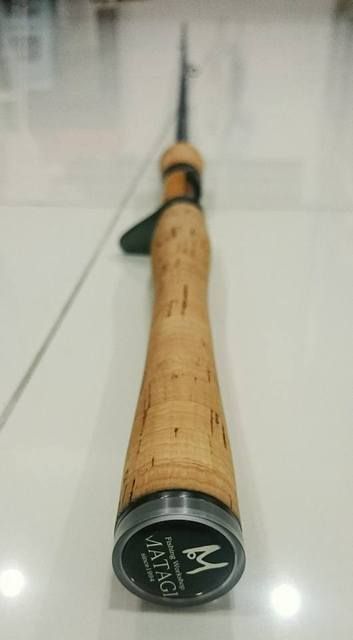
Completed. But...
But, I guess not all fisherman liked weaving pattern on their rod and the weaving was removed.
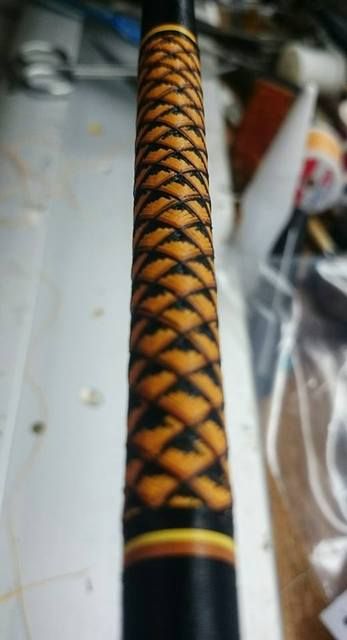
The rod was finished with a simple and clean metallic wrapping at the fore grip.
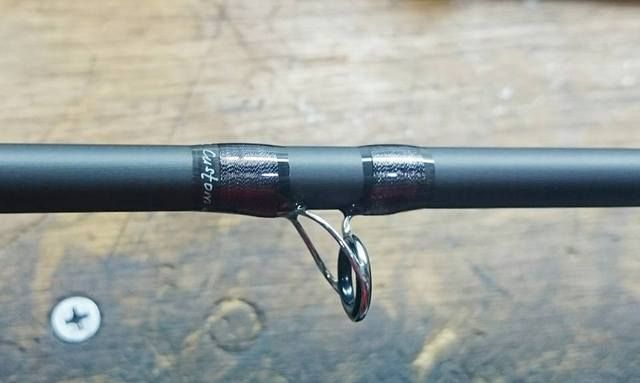
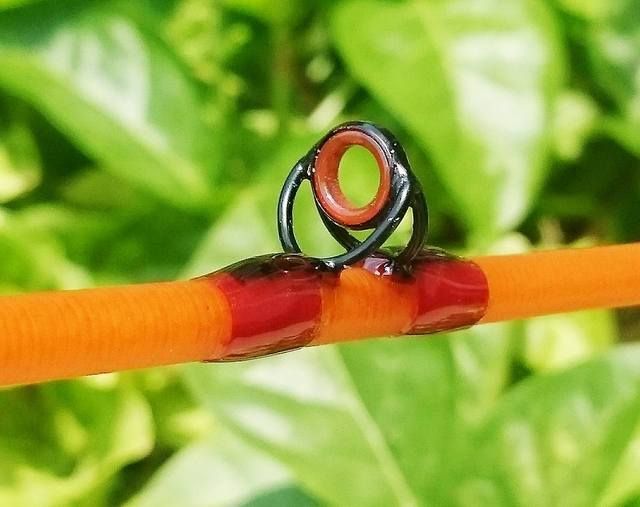
Simple metallic wrapping to guides
Static load test to spiral guide wrapping for centralization and adjustment.
Final static load test before epoxy.
Epoxy done and cork handle are sealed with cork seal.
Epoxy to guide
For the grand finale, fixing up the butt cap.
Pending curing.
The outcome of the completed rod. I remembered doing a similar built some years ago.
Hope to see the rod in action soon..
A quick overview of another rosenbergii rod that I built before my fishing / prawning trip over the weekend.
The blank used was a solid carbon fiber blank measured at 4'8" and ultralight rated.
Carbon insert SG-reel seat with butt-less EVA rear grip and fuji winding check capped at the front of the reel seat.
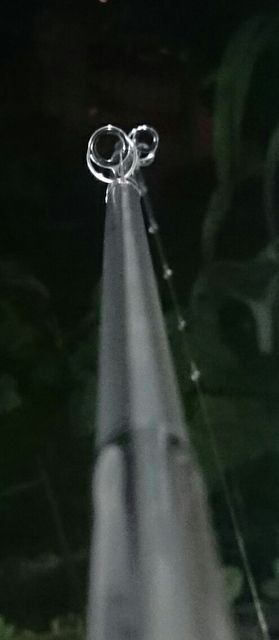
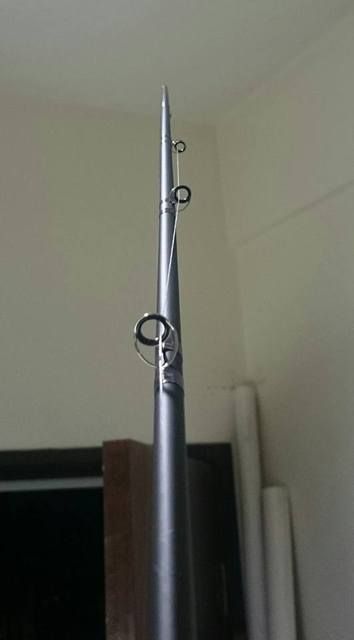
ALPS stainless steel frame with zirconium ring spinning guides.
Guides lined up placement similar to KR-concept
Pending epoxy coating.
Another view of the guide layout after epoxy.
Three quarter view
Short butt section
Full view
and from the left are "rosenbergii I" , "rosenbergii II" and matagi fiberglass UL.
All these 3 are good for UL fishing and prawning..
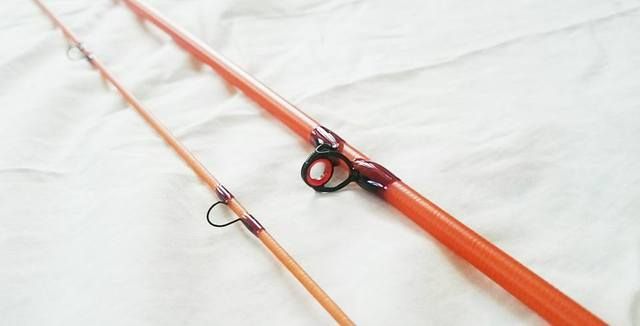
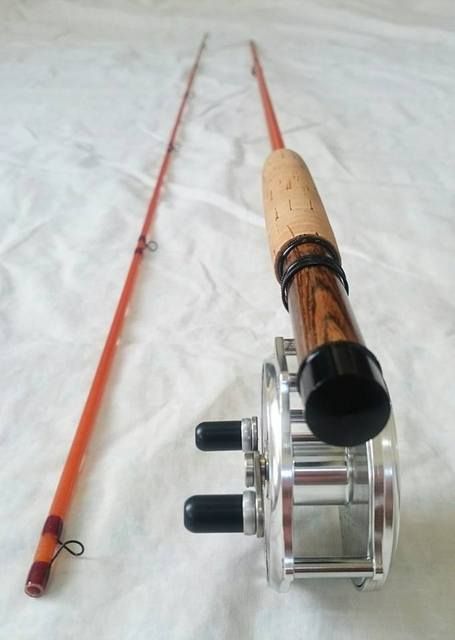
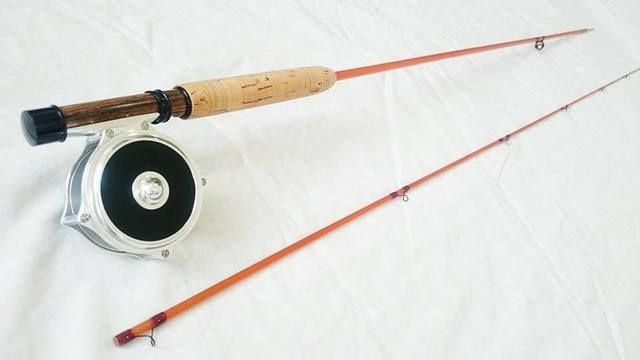
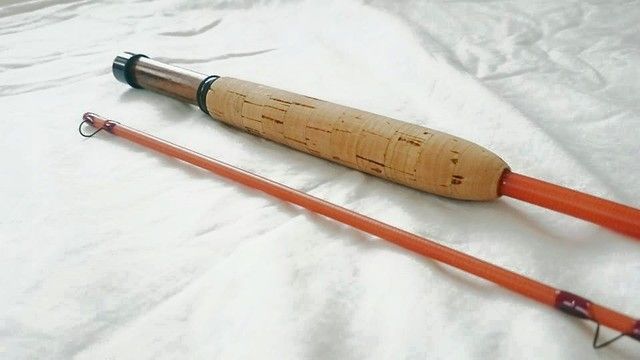
Once awhile a nice fly rod project will come around. This time a 1wt fiberglass fly rod in amber color.
REC down locking sliding band reel seat. A nice lil' reel seat for this lil' rod.
Extra grade cork rings, glued, stacked and lathed on the blank.
Test fitting the reel seat. The ID of the reel seat is actually smaller than the blank, I have to file it to fit the blank.
Then, the amber agate stripping guide goes on and so are the rest of the snake guides.
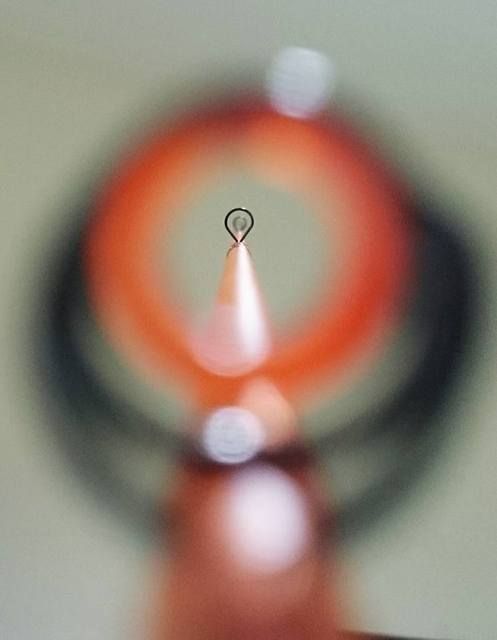
A view thru' the amber agates.
After the wrappings are epoxied.
and it is good to go...