They say "Start with the end in mind" is to imagine how would your built be when you have completed the rod. Is it going to be what you imagine it to be or it will be another disastrous built?
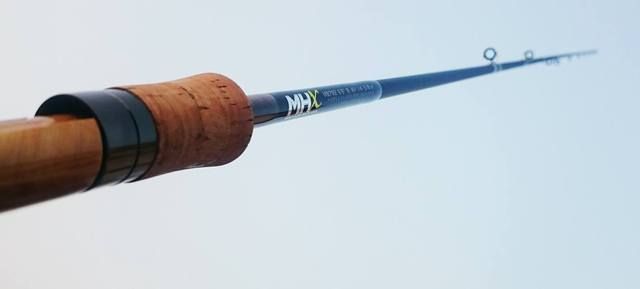
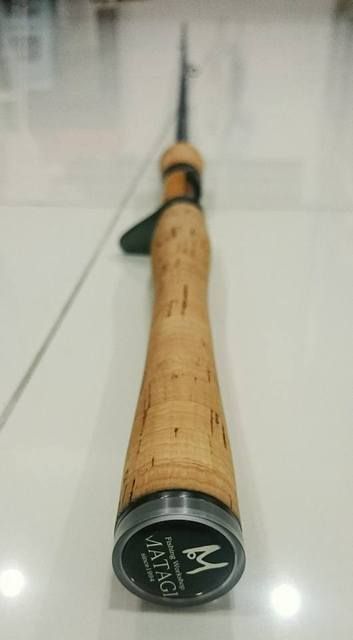
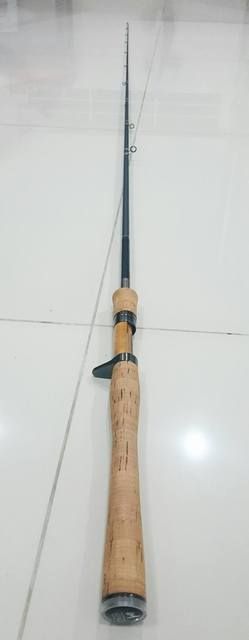
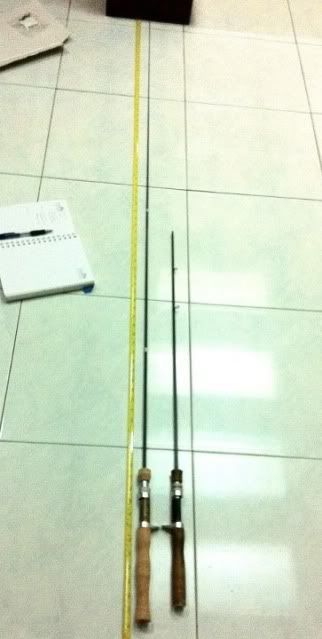
This is another MHX rod blank project, 6'6" 8-14lb , fast action medium power.
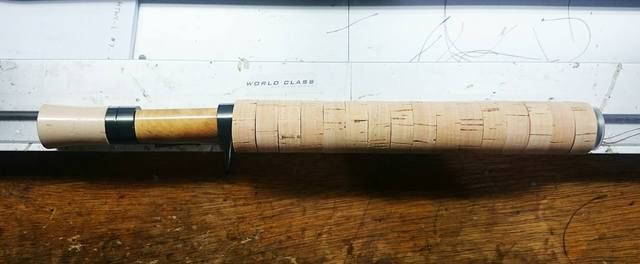
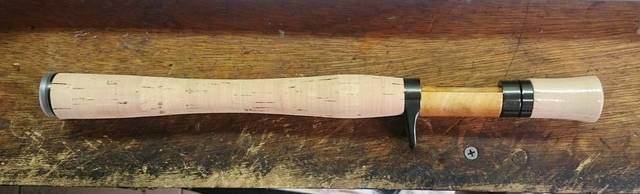
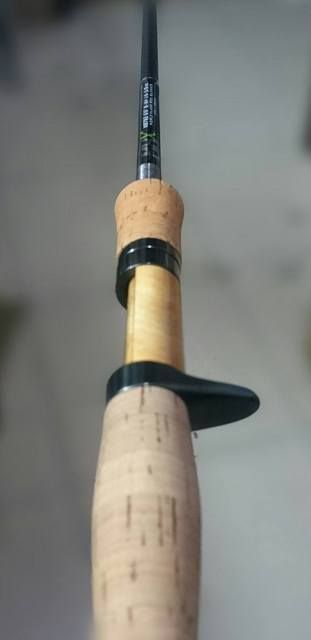
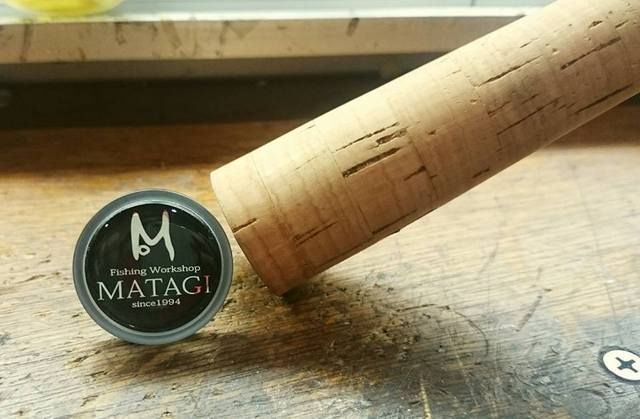
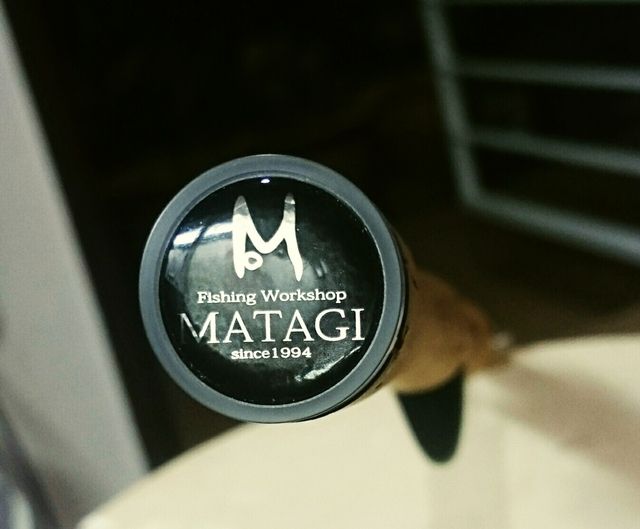
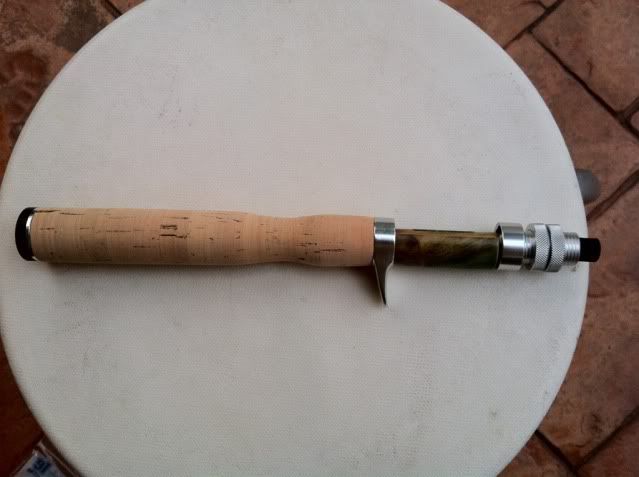
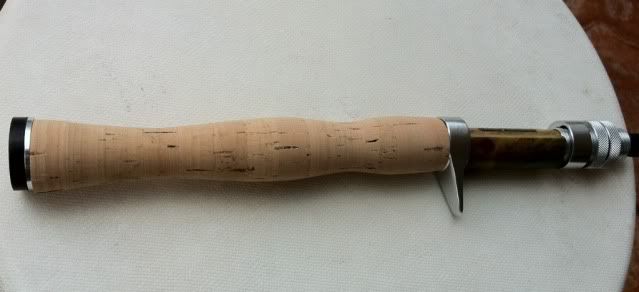
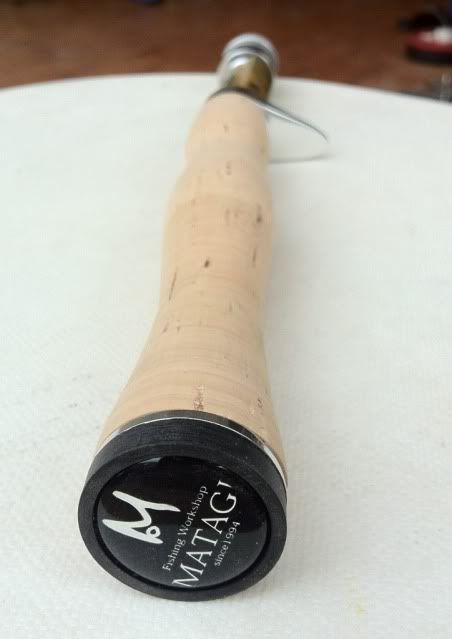
Tastefully selected Andrew's fishing reel seat and MATAGI butt cap.
Preform cork fore grip
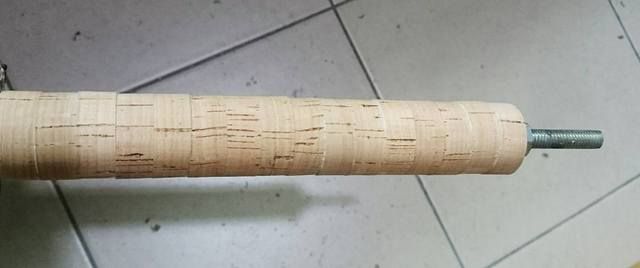
Cork rings for rear handle.
Stacked, glued and ready to be shape.
Shaped cork handle pre-fitting
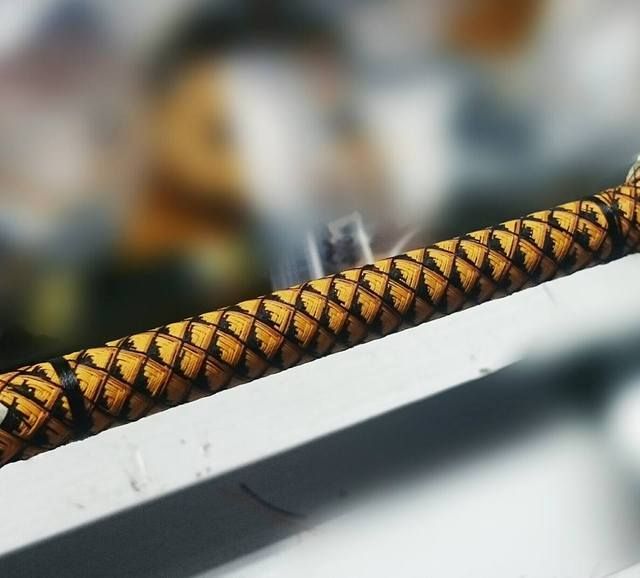
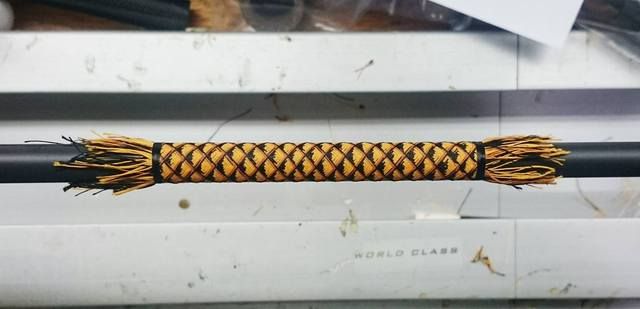
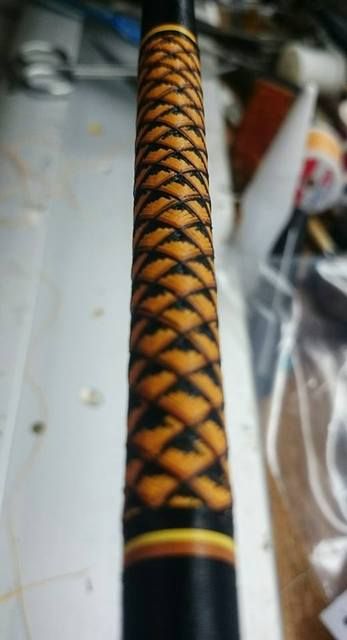
Trying some new weaving pattern. Not that perfect but I guess it should be okay.
Completed. But...
But, I guess not all fisherman liked weaving pattern on their rod and the weaving was removed.
The rod was finished with a simple and clean metallic wrapping at the fore grip.
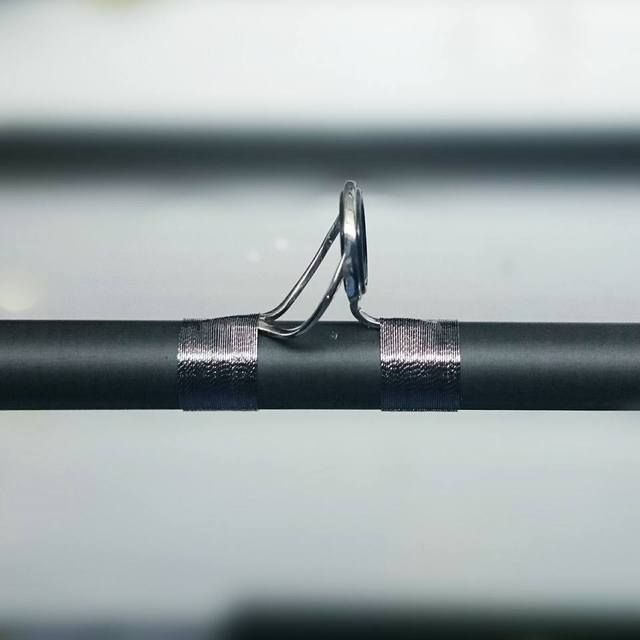
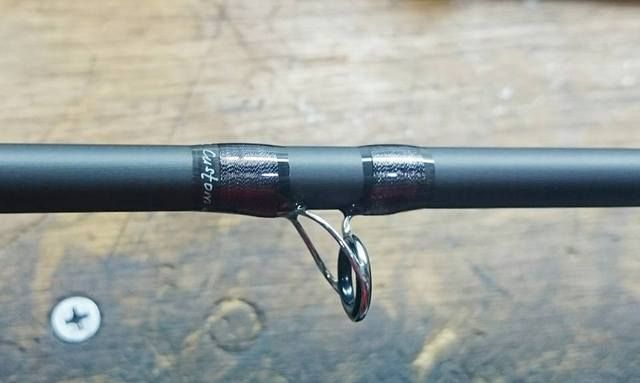
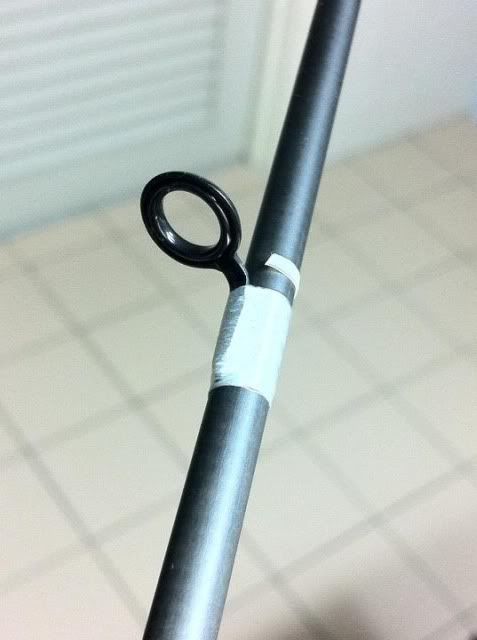
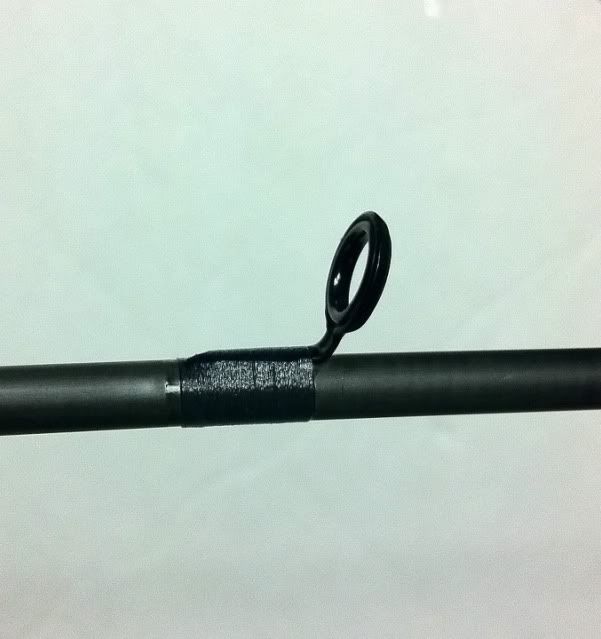
Simple metallic wrapping to guides
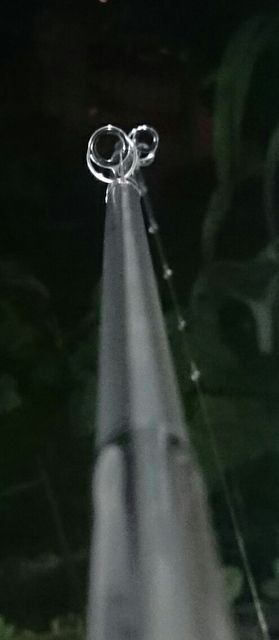
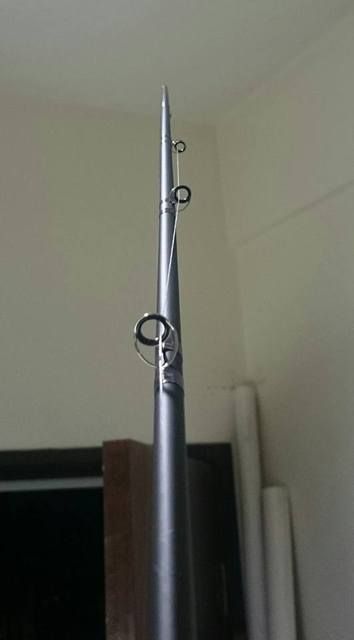
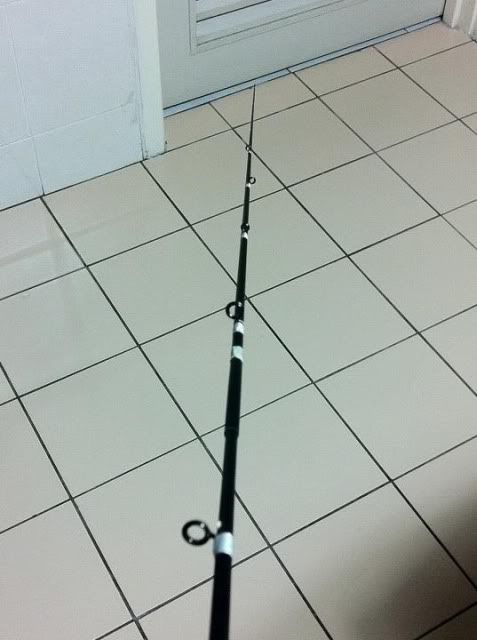
Static load test to spiral guide wrapping for centralization and adjustment.
Final static load test before epoxy.
Epoxy done and cork handle are sealed with cork seal.
Epoxy to guide
For the grand finale, fixing up the butt cap.
Pending curing.
The outcome of the completed rod. I remembered doing a similar built some years ago.
Hope to see the rod in action soon..
Showing posts with label burled wood insert Andrew's trigger reel seat. Show all posts
Sunday, April 10, 2016
Thursday, April 19, 2012
NIF Phenix UL Rod
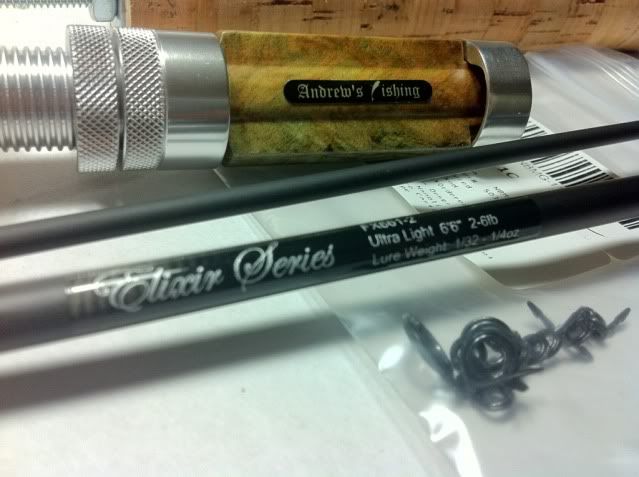
This is the 3rd Phenix UL blank I built which all are ultra light trout rod blanks.
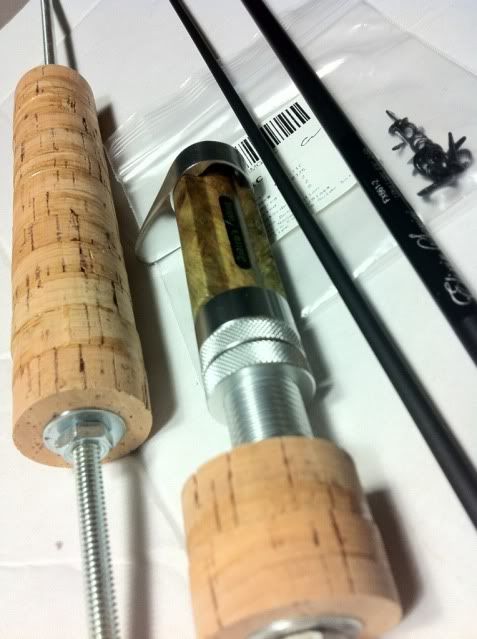
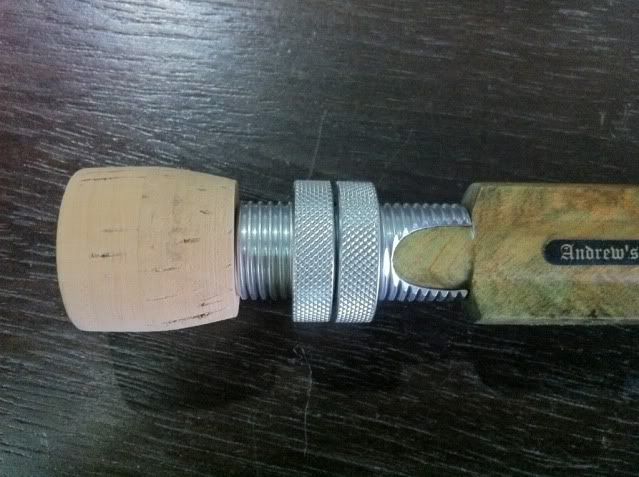
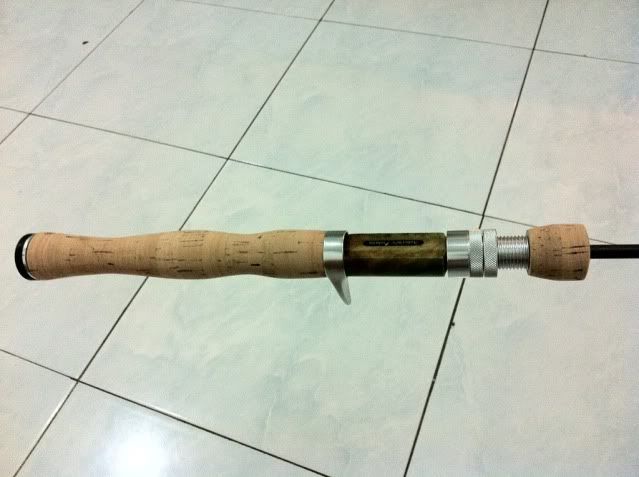
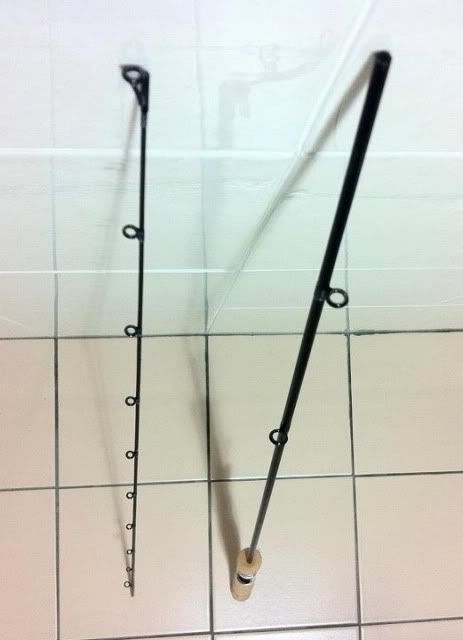
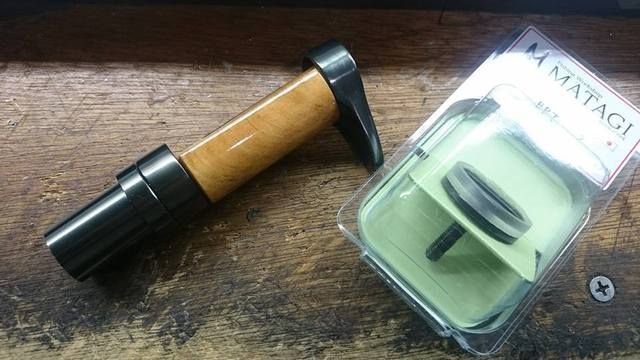
Elixir Series blank from Phenix paired with Andrew's aluminum flat face trigger reel seat with burled wood insert from Matagi. This is a 2 piece blank and will have a spiral placement guides on it.
Normally it is not recommended but since it's an ultra light rod, I don't see any harm doing it. How big of a fish this rod will take anyway... I am sure it will not twist the rod during the 'fight'
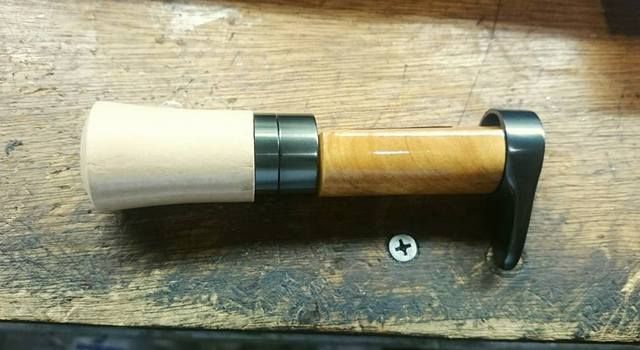
Cork rings are glued and stack before it was shaped. Vintage looking reel seat are best match to cork grips.
Now the dilemma of shaping the grip... Not having a firm decision of what type or shape of butt cap to be used. Square perfume cap or round bottle cap ?
Tried the square one but it just don't fit into the picture. Just not right. I have to go for the round bottle cap.
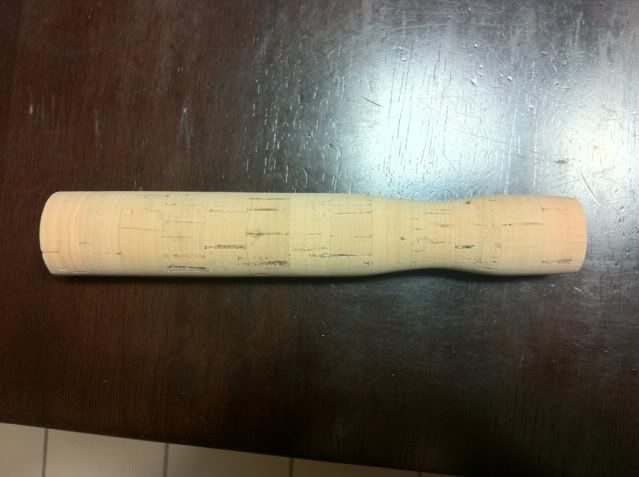
The fore grip was pretty much a standard. It was the rear grip that I have a slight problem.
This is the 2nd try, by the way. The 1st one was totally screwed....
Well, it still looked too thick , I guess...
Back to the drill lath.
And finally, we stopped here. Looks great.
This is how it looks after it was fitted onto the blank.
Guide placement setting.
Guides up. Those guides are not tape with masking tape but white color silk thread.
Silk thread wrapping on single foot guide. Now you see......
Now you don't.................
I have always fascinated with silk thread. It turned transparent after it comes into contact with epoxy.
A couple of thinned layer epoxy was applied to the wrapping. The epoxy coating cannot be too thick as it will load the tip of the rod. Less is always better on ultra light rods like this.
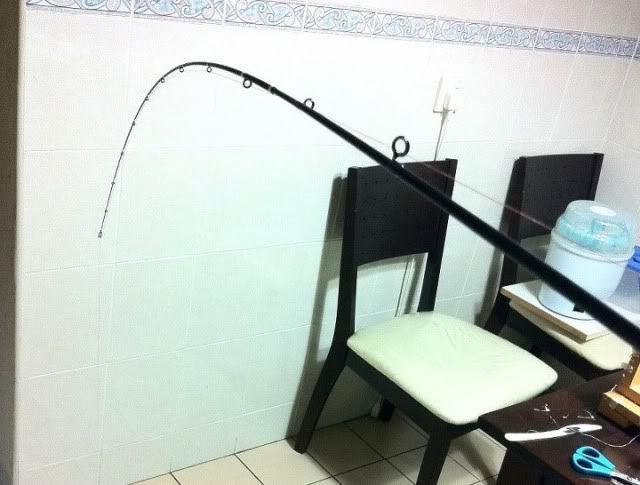
Static load test was done twice. Once before epoxy and then when the rod is completed.
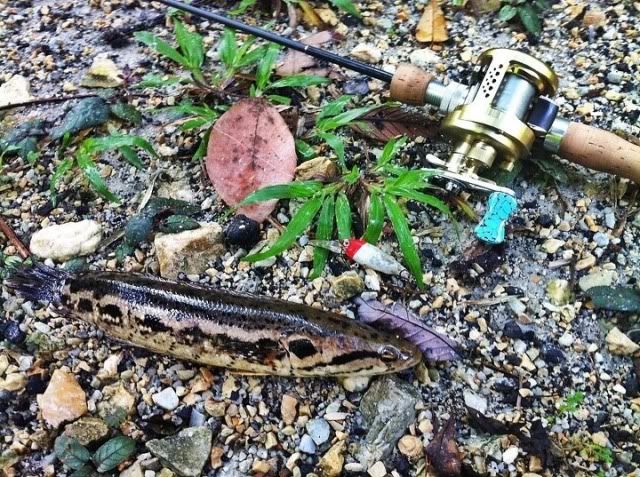
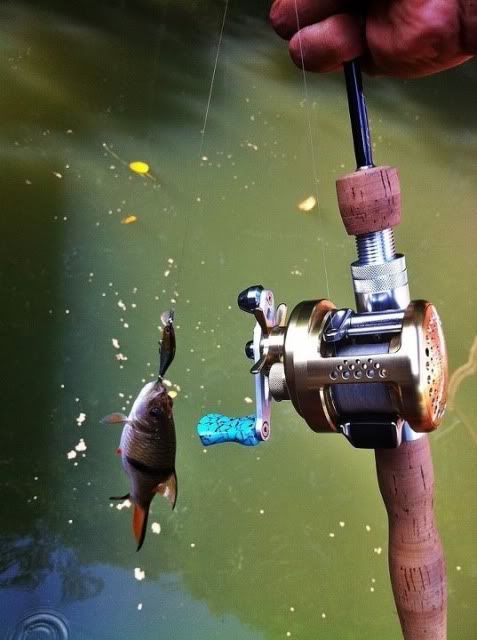
This rod was tested by my fanatic ultra light rodder friend, Gerard.
(Photos courtesy of Gerard)
And I must say, this little rod turns out to be real good... I quote the rod owner.
Elixir Series blank from Phenix paired with Andrew's aluminum flat face trigger reel seat with burled wood insert from Matagi. This is a 2 piece blank and will have a spiral placement guides on it.
Normally it is not recommended but since it's an ultra light rod, I don't see any harm doing it. How big of a fish this rod will take anyway... I am sure it will not twist the rod during the 'fight'
Cork rings are glued and stack before it was shaped. Vintage looking reel seat are best match to cork grips.
Now the dilemma of shaping the grip... Not having a firm decision of what type or shape of butt cap to be used. Square perfume cap or round bottle cap ?
Tried the square one but it just don't fit into the picture. Just not right. I have to go for the round bottle cap.
The fore grip was pretty much a standard. It was the rear grip that I have a slight problem.
This is the 2nd try, by the way. The 1st one was totally screwed....
Well, it still looked too thick , I guess...
Back to the drill lath.
And finally, we stopped here. Looks great.
This is how it looks after it was fitted onto the blank.
Guide placement setting.
Guides up. Those guides are not tape with masking tape but white color silk thread.
Silk thread wrapping on single foot guide. Now you see......
Now you don't.................
I have always fascinated with silk thread. It turned transparent after it comes into contact with epoxy.
A couple of thinned layer epoxy was applied to the wrapping. The epoxy coating cannot be too thick as it will load the tip of the rod. Less is always better on ultra light rods like this.
Static load test was done twice. Once before epoxy and then when the rod is completed.
This rod was tested by my fanatic ultra light rodder friend, Gerard.
(Photos courtesy of Gerard)
And I must say, this little rod turns out to be real good... I quote the rod owner.
Subscribe to:
Posts (Atom)