Friday, September 25, 2015

Rod up-keeping and maintenance

There are so many skilled fisherman out there, may it be fly fishing, bait casting, bait jigging, popping, bottom fishing and the list goes on, they took good care of their reels but not many of them really thought of rod maintenance.

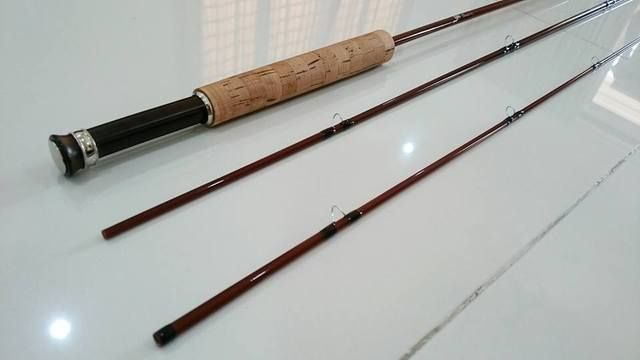
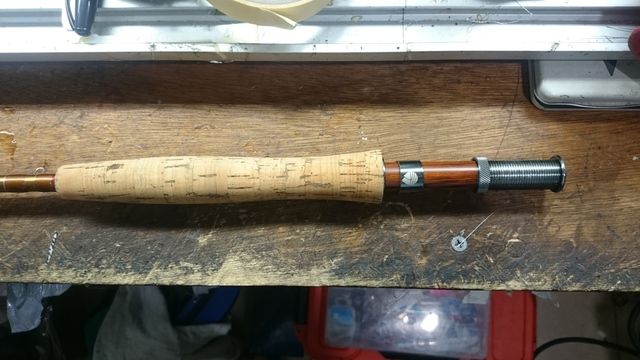
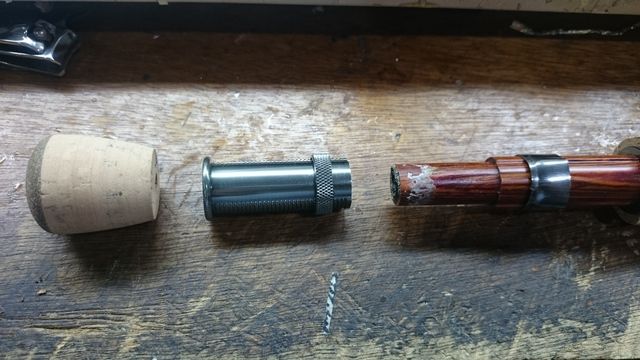
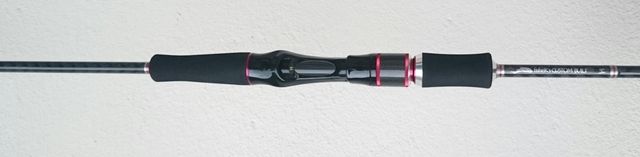
Similarly to reel maintenance, rod maintenance to will extend the life span of the rods. It is much more simpler than servicing the reel.

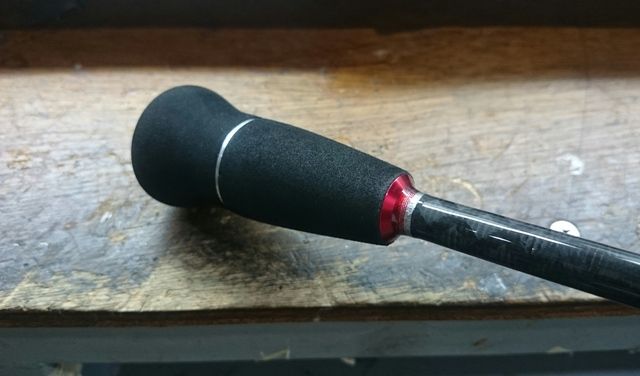
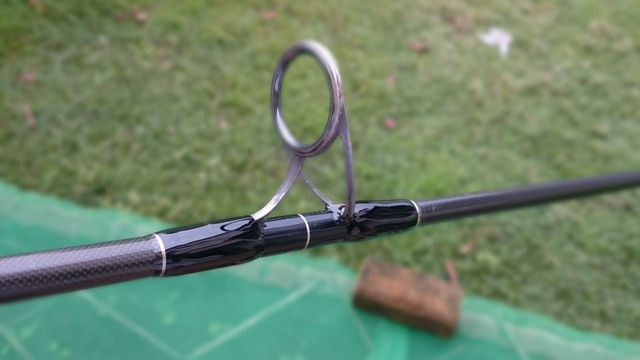
Proper cleaning of reel seat, the handle and the guides. The only thing which is kinda difficult to do is getting rid of the rust built up at the guide foot and cracks at the wrappings.

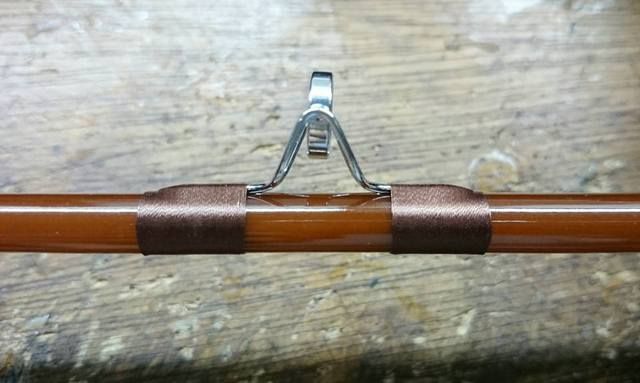
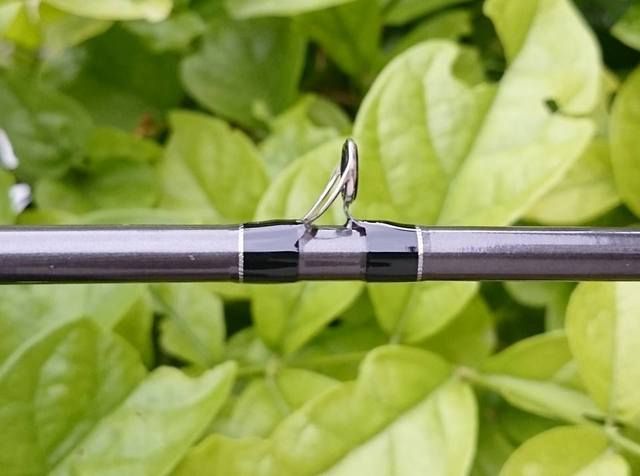
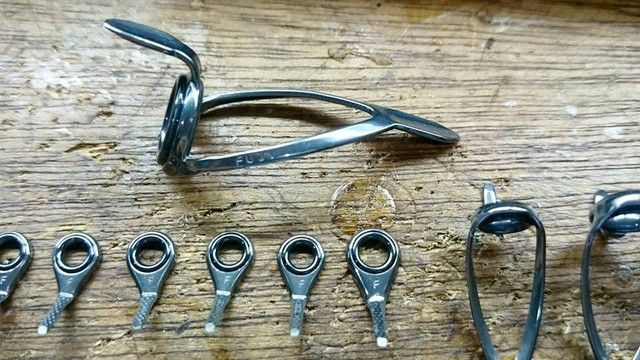
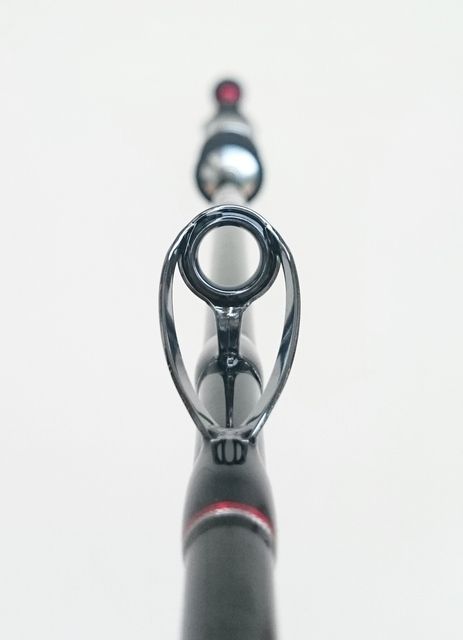
Rust will eventually build up at guide foot when come in contact with salt water.
A small gap, cracks or void area between the epoxy coating and the guide foot is good enough for the water to penetrate and sip in.  

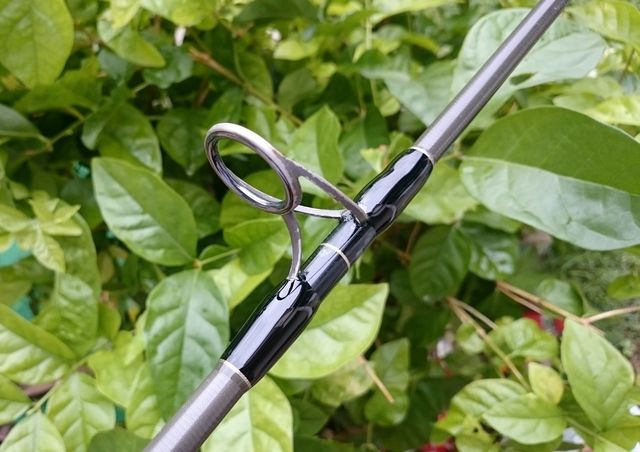
Of course it will not rust over night, but this will be the beginning of the corrosion process especially to salt water rods.


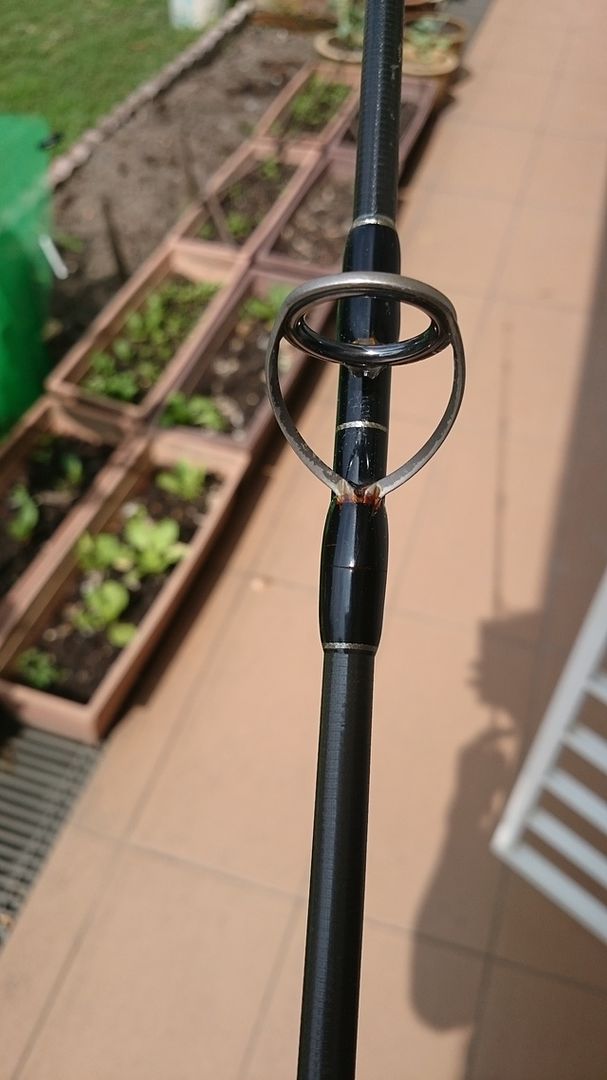
The corrosion or rust build up normally starts on the surface of the guide foot just beneath the epoxy coating, and it will get deeper if the rust particles are not scrap off.

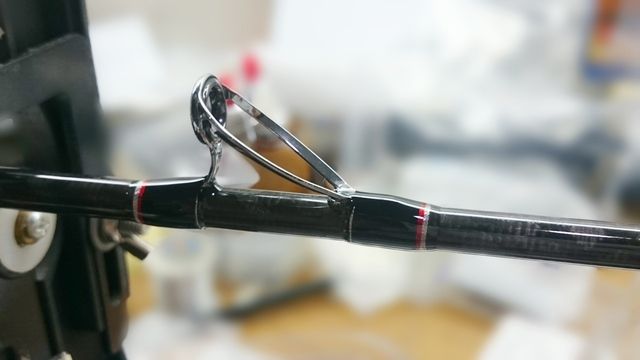
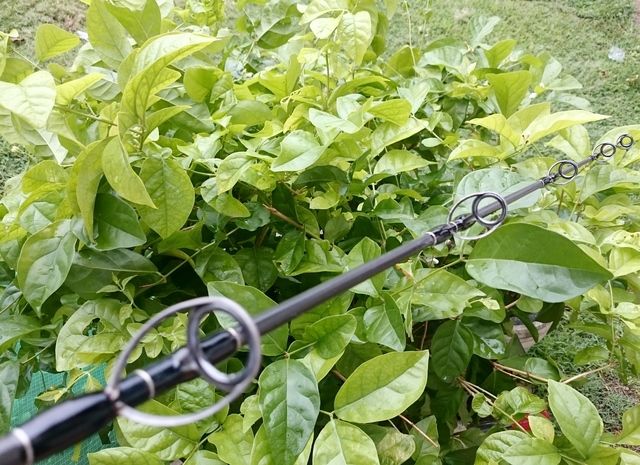
The surface of the old epoxy coating was lightly scuffed to remove the dirt.


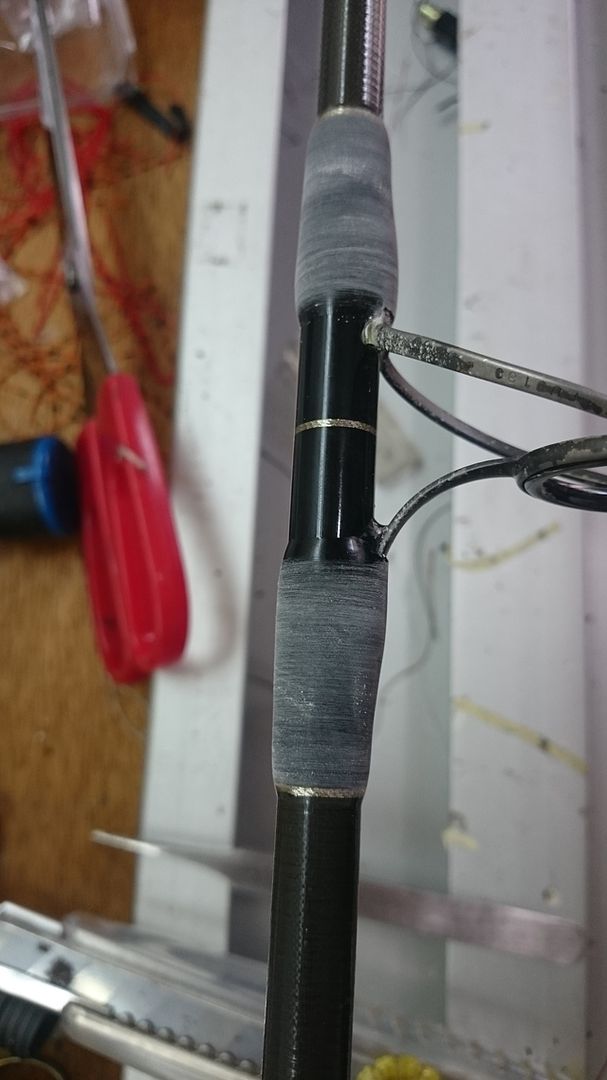
The new thin epoxy coating is then applied onto the scuffed wrapping.


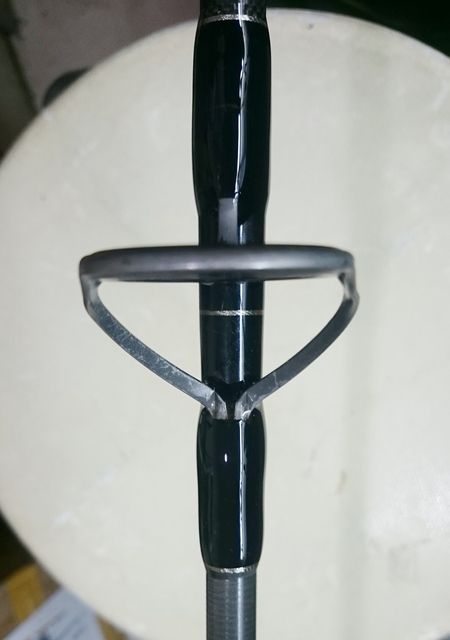
And as you can see, the rusty particles are scrapped off the guide foot.
If the epoxy are properly and evenly applied onto the wrapping sealing off all the gaps and voids, the guide foot will be rust free for at least a couple of years.


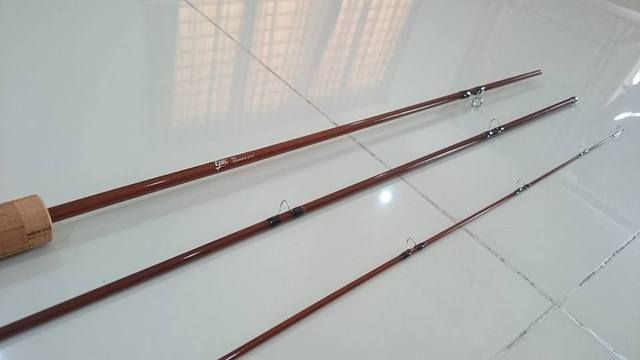
I hope this write-up will give you a new perspective about up keeping your rods and additional information to extend the lifespan of your fishing rod.


Wednesday, September 23, 2015

Another #EPIC story and more to come...


This another EPIC job I picked up earlier and completing it before my 4 days break to the highlands.

It' a 3 section EPIC glass, 7'6" 3wt.

A very simple built with straight cork grip and standard guides.


Stacked cork rings for the grip.


Standard snake guides and stripping guide.


The first cork grip didn't really turn out nice and I had to do another. If I cannot accept the quality of the shaping, I don't think my friend would accept it either.


The sliding band reel seat and cork grip being put together.


Wrapping of stripping guide with brown nylon thread. My friend wanted the wrappings black and I told him , no worries. It will turn black... well almost black when I am done with it.


The wrapping after epoxy.


The completed rod.


Wednesday, September 16, 2015

Another ROD for the pistol grip


Here is another rod for the pistol grip handle.

A St Croix SC3 extra fast rated at 4-10lb. The blank was shorten to make the overall length of 6'3" for this complete setup.


The aluminum ferrule is custom made to fit the blank.


Test fitting the blank to the handle.


The ferrule part was kinda plain so I decide to put a short length of weaving to it. Just plain silver and black thread weaving to create a slight bling at the joint right after the decal.


After several coating of epoxy and you will be able to see the effect of the silver thread.


The rod was fitted with Fuji Alconite micro guides.


The wrapping was coated with a thin layer of epoxy to minimize the overall weight of the rod.


Here are the extra sets of aluminium ferrules for another rod to be pimped.


This is one of the rods which is on the dryer.


Thursday, September 10, 2015

BUTTING your fly rod

Here's a little project which I have done yesterday.

Not all fly rod comes with a fighting butt. Some 6wt fly rod has them and some don't.

This time I am adding a fighting butt to a Redington 6wt fly rod.

First I clear the soil on the cork using sand paper. 


I was supposed to remove the butt cap only but it just wouldn't want to come out. So, the whole thing have to come out.


A hole was made on the butt cap for blank insertion to fix the fighting butt.


The fighting butt was then glued to the blank which is protruding from the butt cap.


The final steps is to insert the threaded shaft and nut back onto the reel seat.


And there you have it. How to DIY a fighting butt to your fly rod.


Saturday, September 5, 2015

CUSTOM Slow Pitch Jigging rod MATAGISH style

This project was planned right after visiting the Angling & Outdoor Recreation Fair early May this year after seeing some nice jigging rods which was on display.

Buying one was an option... but nay... why buy when I can build one.. LOL..

The search for the blanks begun..
I found a cross wrapped saltwater blank which is just nice for a jigging rod.

Load action testing to the blank with a 230g jig.


Then it comes the fun part. Selection of rod components. 
This time around I will be using quality products from MATAGI.


and the reel seat setting.


I have selected Fuji SiC LC and LD guide series for this rod. Low rider for the lower section and heavy duty micro guide for the tip section. However I found out that the last guide was a bit too low and I have to change it to a medium height LC.


Under wrapping to the guide foot area only and not through the whole guide foot. I was trying the bling bling low for this rod and it the same time raised the guides slightly.


Complete wrapping to micro guides.


Guides layout.


The fighting butt


First coating of epoxy


Final epoxy finishes to decal  and guides


Here are the photos of the completed rod