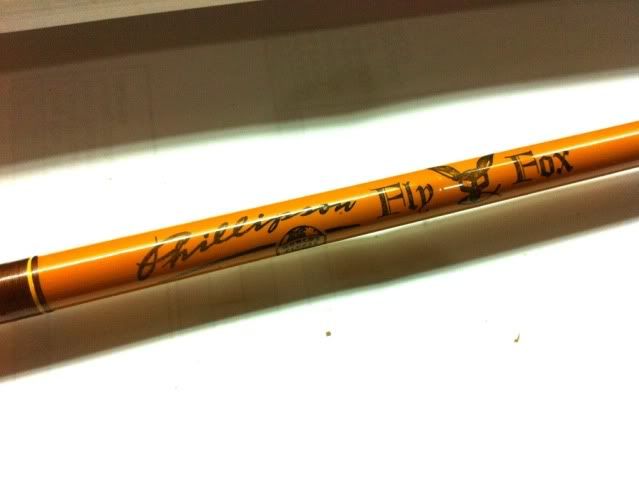
Showing posts with label phillipson fly fox. Show all posts

Monday, January 7, 2013

Another FLY FOX refurbishment

Here is another Phillipson Fly Fox fly rod refurbishment project.

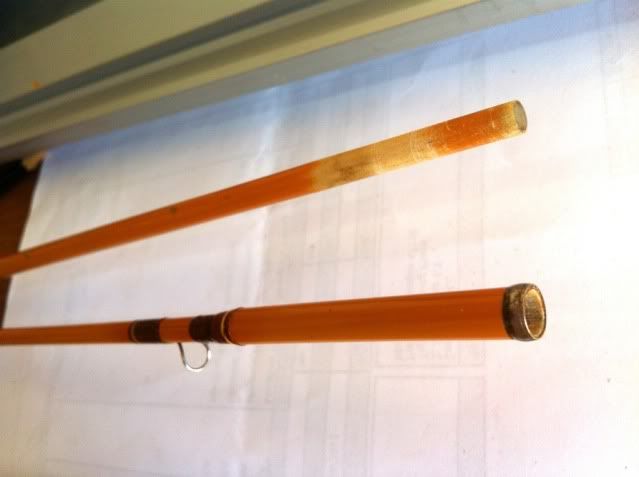
No major issue with this rod. Just clacking sound from the ferrule when casting, a bad wrapping at the ferrule joints, a jaggered end at the bottom section and a broken cork grip at the butt cap.
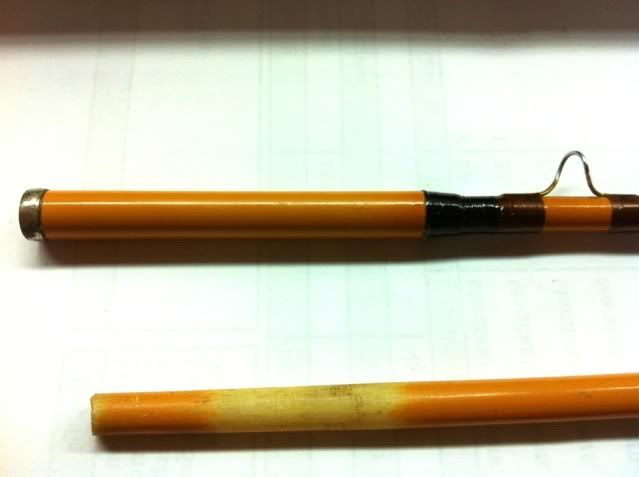


First task was to fix the clacking sound. Had the old wrapping and ferrule removed.
The parts was cleaned and free of old epoxy residue before I apply epoxy to fix the ferrule.


And then rewrap the jointing part following the existing wrapping design.
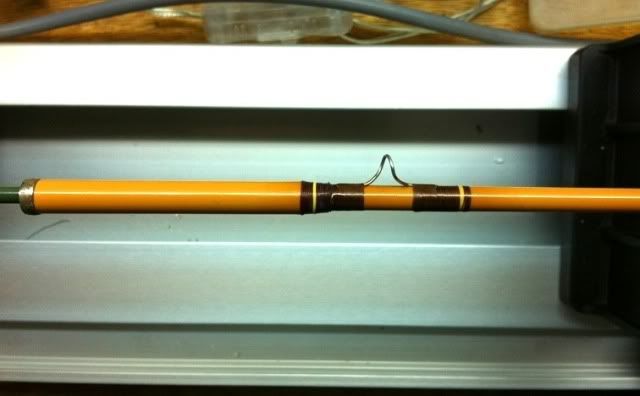


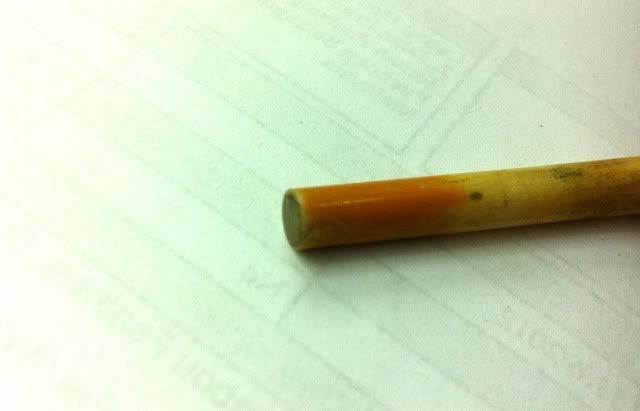
Next to make good the jaggered male ferrule top. Sand to make the edges straight and dap a drop of epoxy to seal the gap.

BEFORE:

AFTER:


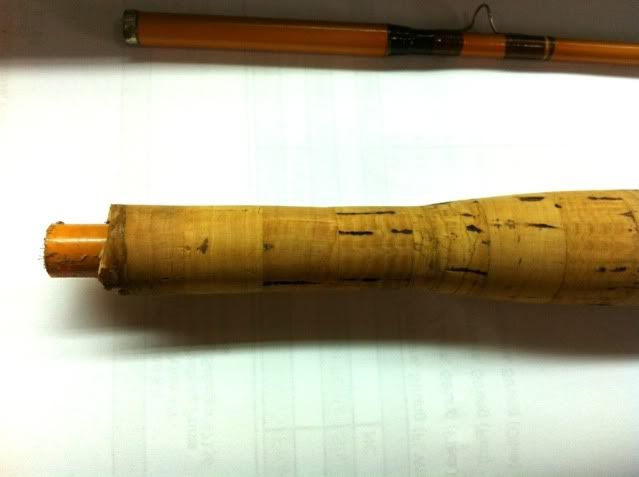
Now for the most difficult part. The cork grip...
The damaged and loosen cork grip was cut and removed.
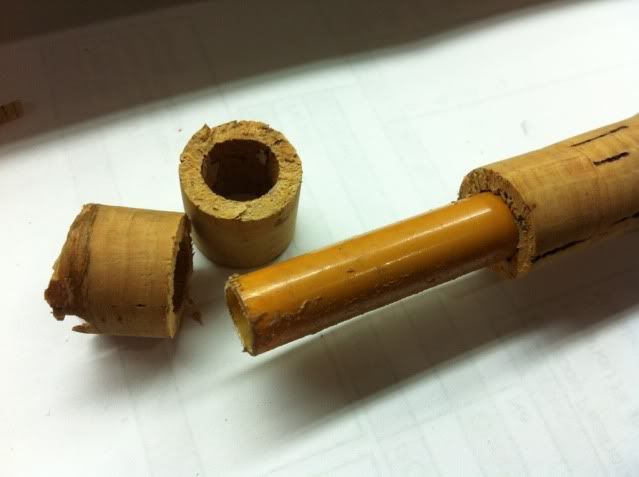


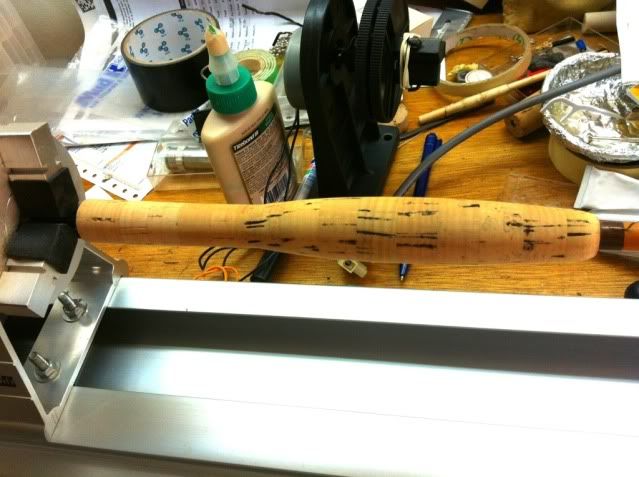
Replaced it will new cork rings
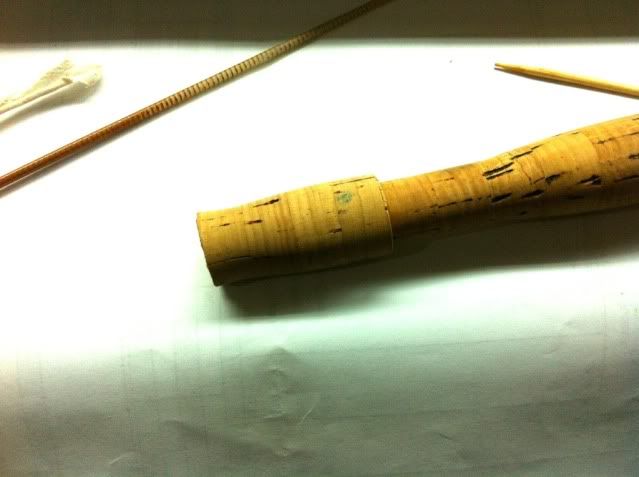


The grip was lathed to size matching the existing handle.


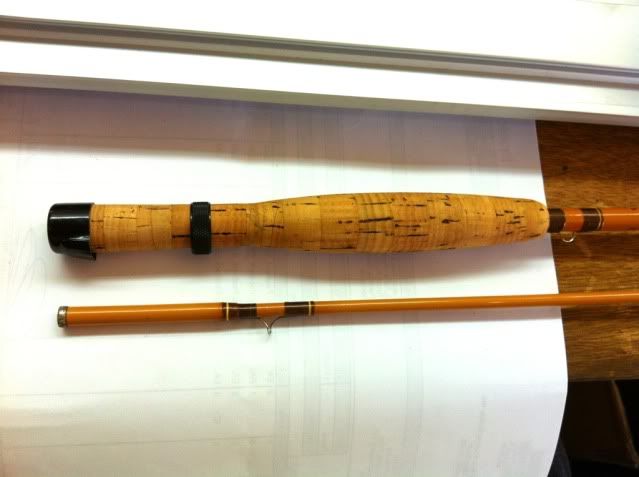
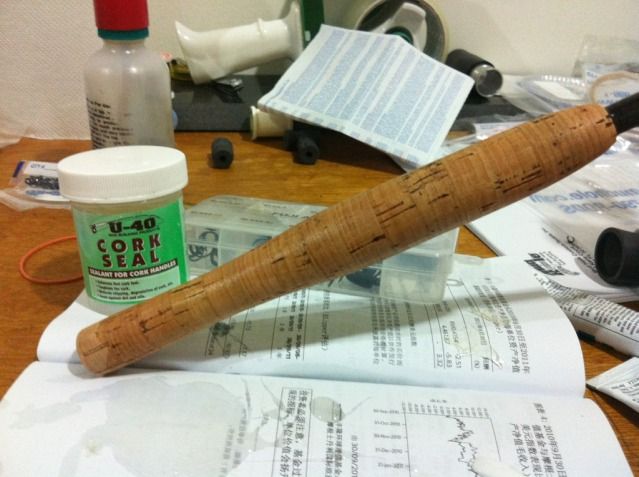
A layer of cork sealant was applied on the cork handle before affixing the handware.
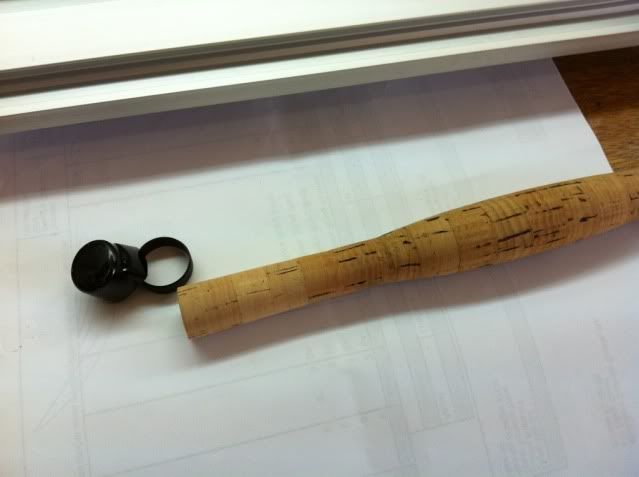


But before that I had to remove some paint at the fore grip..

BEFORE:
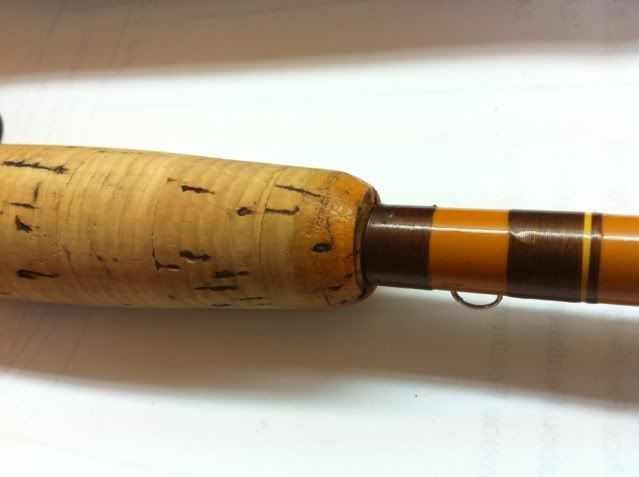

AFTER:


DONE.

Another refurbished FLY FOX.


Wednesday, September 19, 2012

The refurbishment and repair of Phillipson Fly Fox

This was a request from a friend to repair this Phillipson Fly Fox fly rod which was crack above the cork grip and have the cork grip replaced.

I do not know what causes the cracks but it was quite severe. I had to do a fiberglas insertion to the cracked area and another round of wrapping above it.

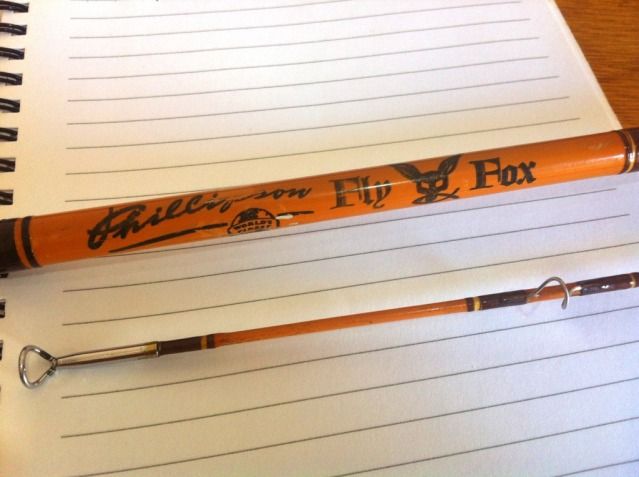
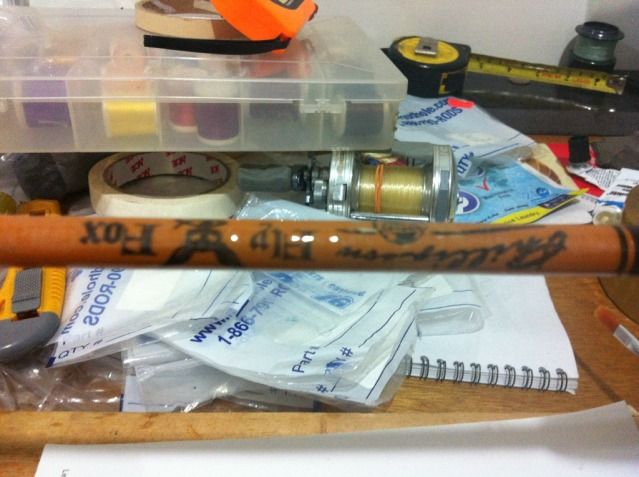
The cracks are found at the rod decals area.


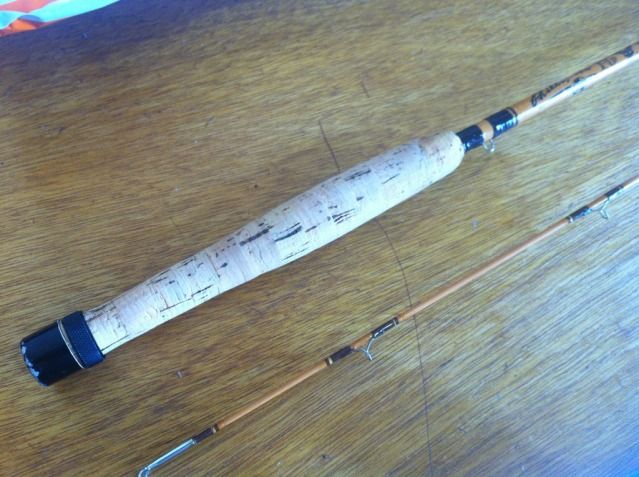
The condition of the cork grip.


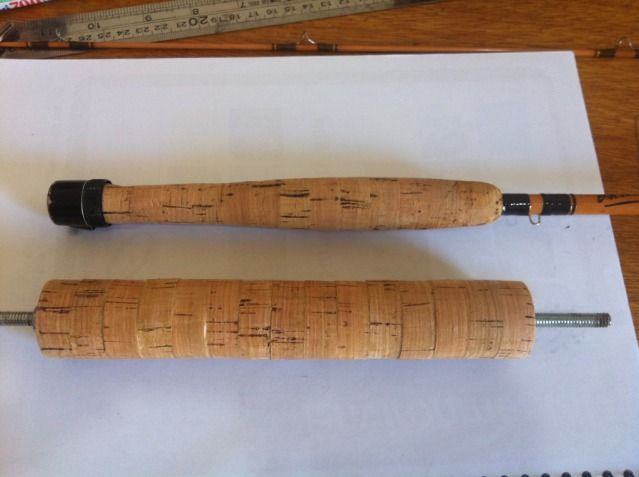
Stacking up of cork rings for new grip


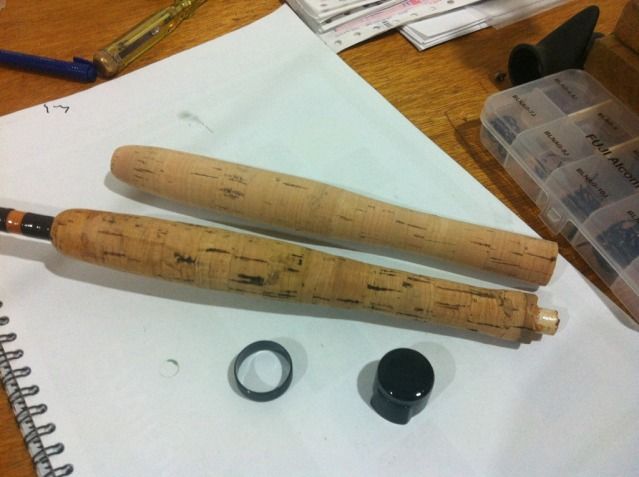
New cork grip shaped and the hardware of the old handle was removed.


A 9" fiberglas blank to be inserted in the the FLy Fox at the cracked area.


The old cork grip was stripped and to be replaced with a new one.


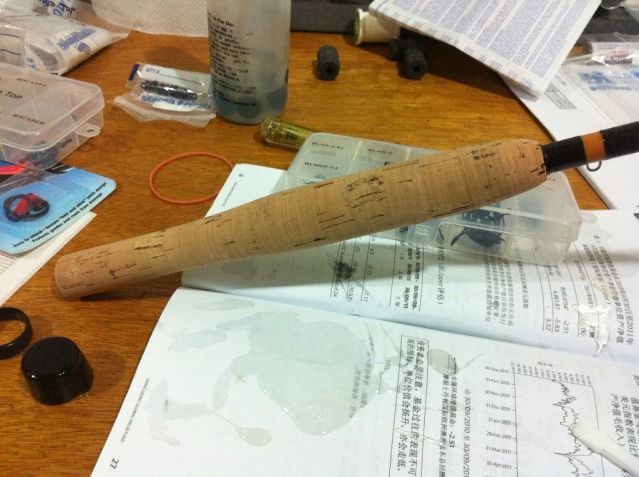
New handle replace and a layer of cork seal was applied onto it.


The slidng band and bottom cap was fixed. After the cork seal dried, the cork handle looked seasoned.


Internal strenghtening done, now the external reinforcement.
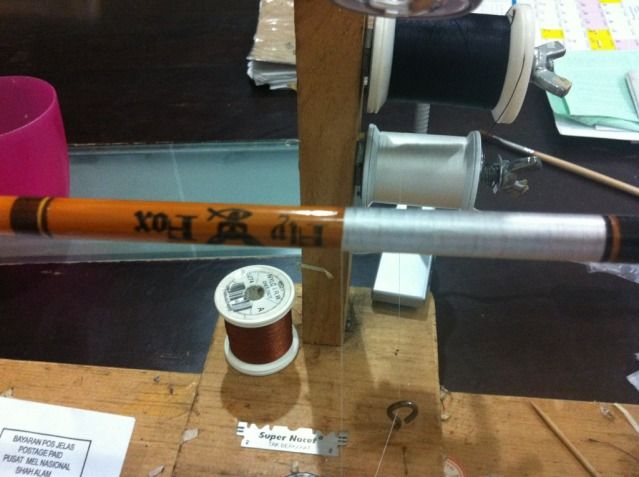
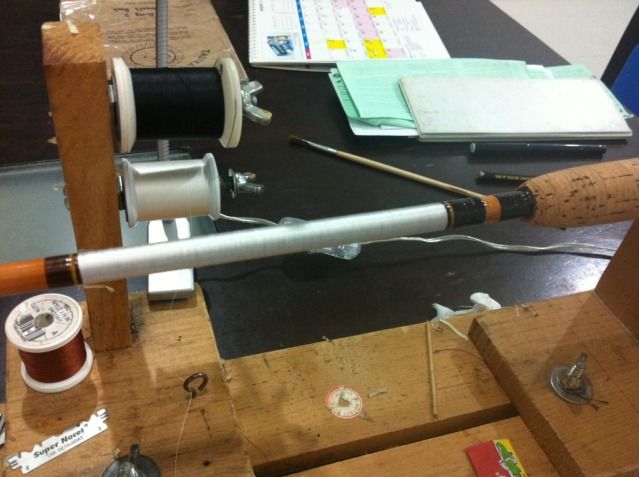
The cracked area was wrapped with white silk thread.


The silk thread wrapped all around covering the rod decal.


Later, a layer of epoxy was applied onto the silk thread wrapping.. and the silk thread became transparent showing the rod decal underneath it.


There... it's all done. Replaced, repaired and the old rod decal remain...