Saturday, January 7, 2012

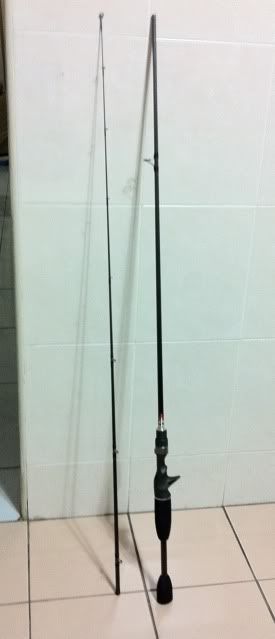
Custom GAWAS , 1st rod for 2012

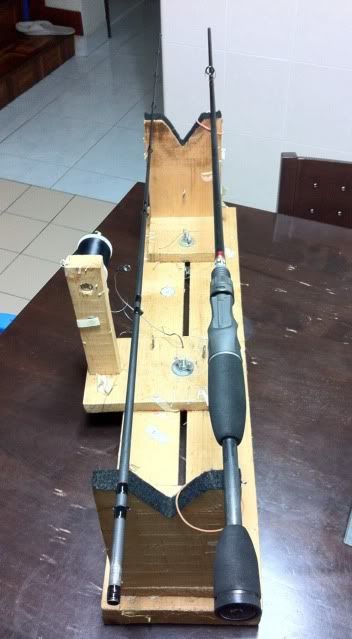
It took me a year to finish this rod... literally.  : )
Started work on this rod in December 2011 and completed in January 2012.

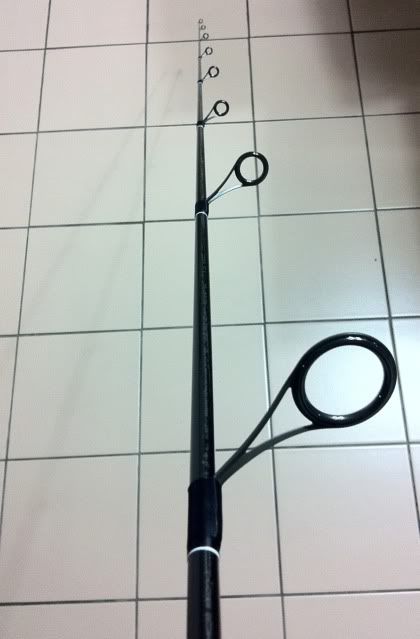
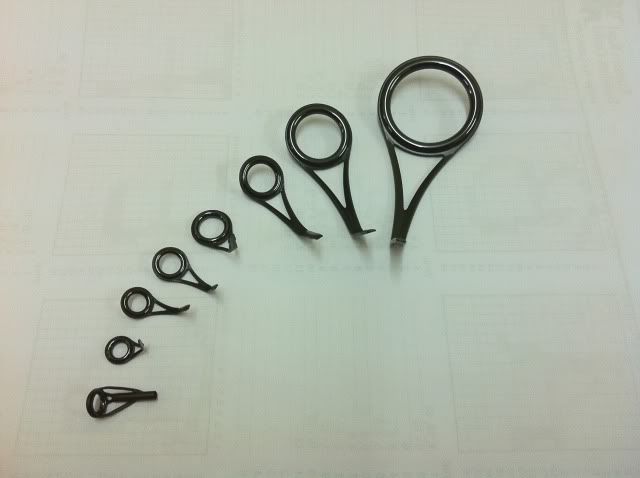
This is my 1st time working on a Japanese brand blank. My friend wanted a spinning rod from this blank and a set of durable guides on it. Well, need not to say more.. I got him FUJI SiC guides.


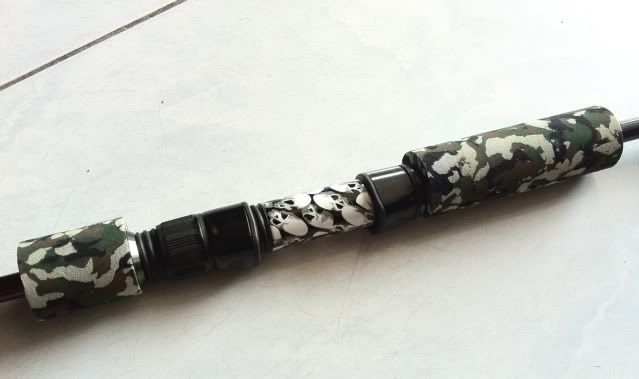
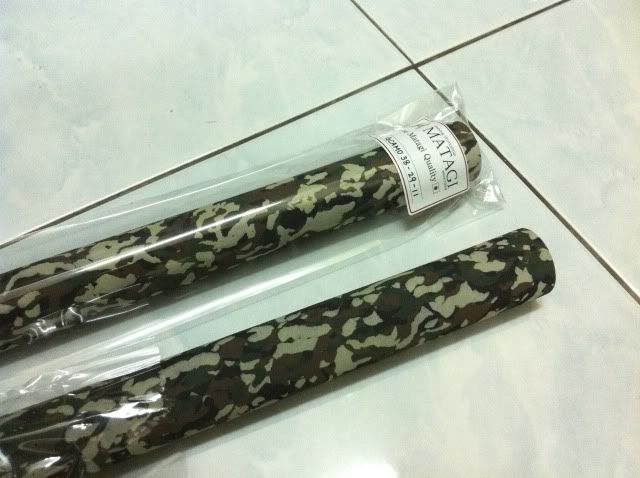
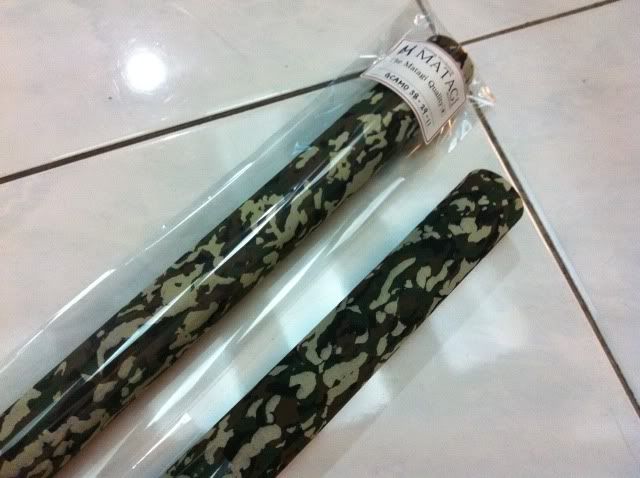
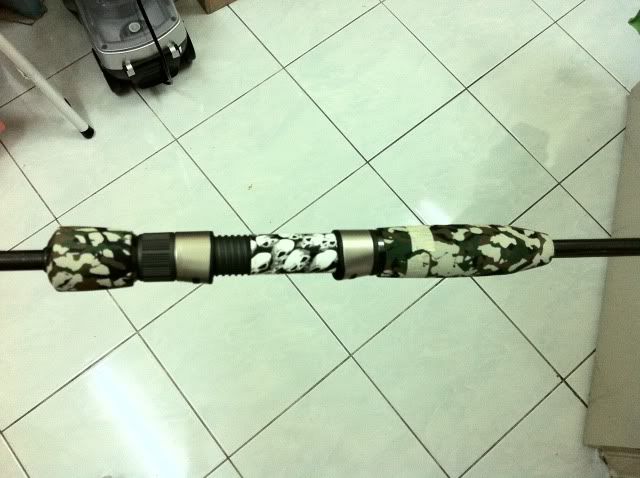
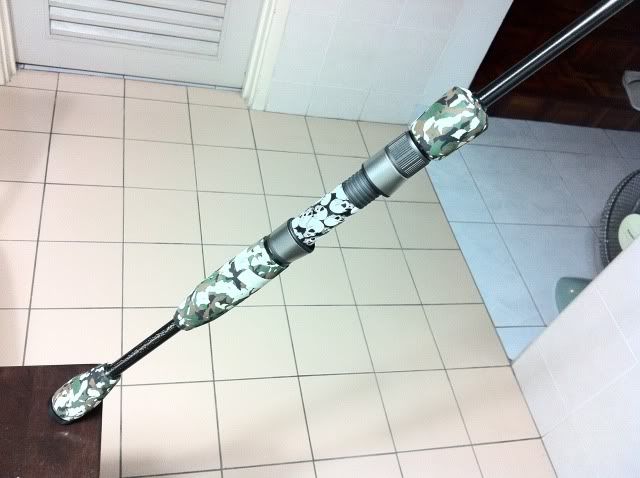
He also requested for something different for the grips. Black EVA is just too common. He wanted a camouflage EVA for the split grip.

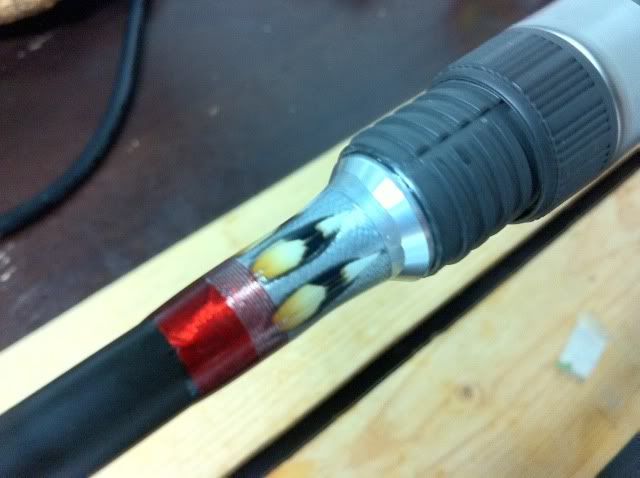
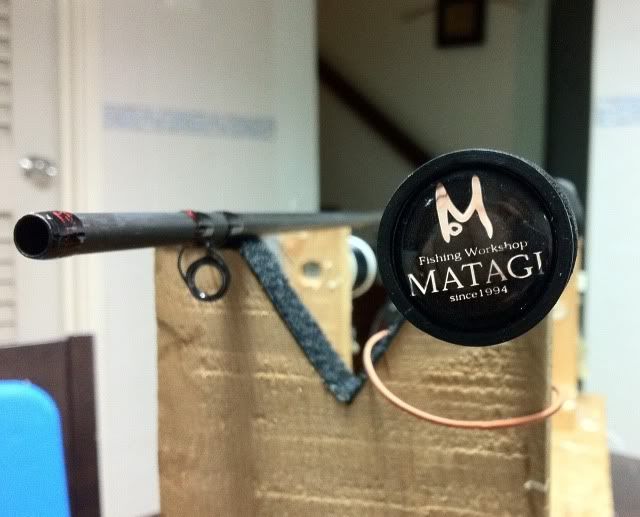
I got some of the components from Matagi.


Skull spinning reel seat from Mudhole. Here is something different for a change.

There was a slight misalignment and I have to change the hood and the screw. That is why the color of the hood of the reel seat is different in the finished rod.

Then, the guides.

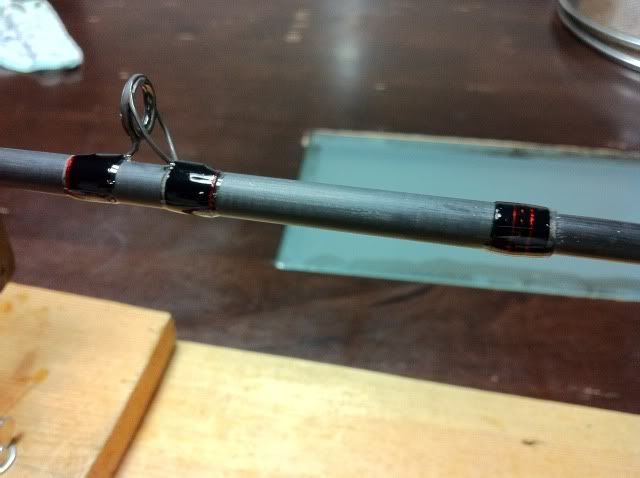
Black wrapping with white trim.
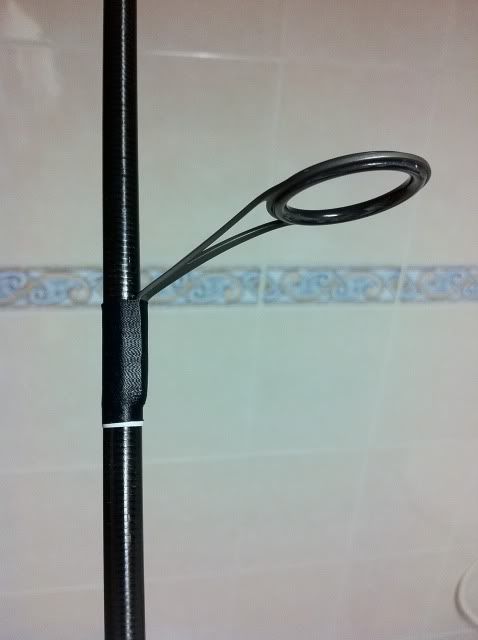


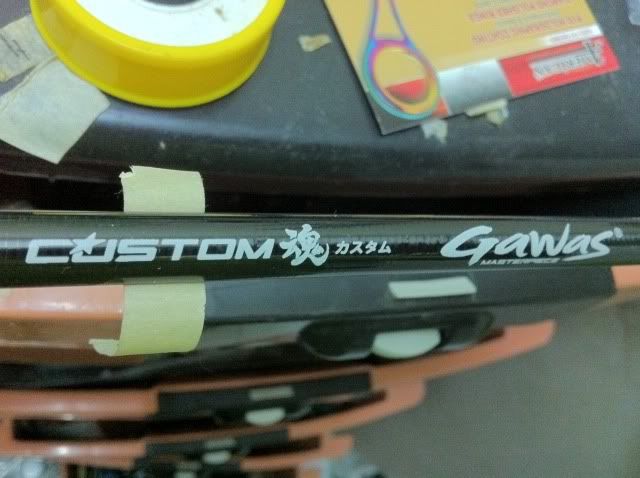
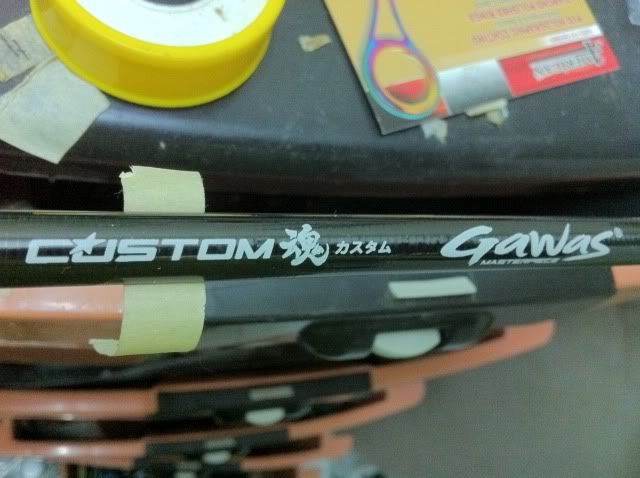
Two rod decals came with the blank, in white color and black.

White decal on black rod is just too common. I went with the black decal on the black rod, of course the black decal will be on the white underlay.
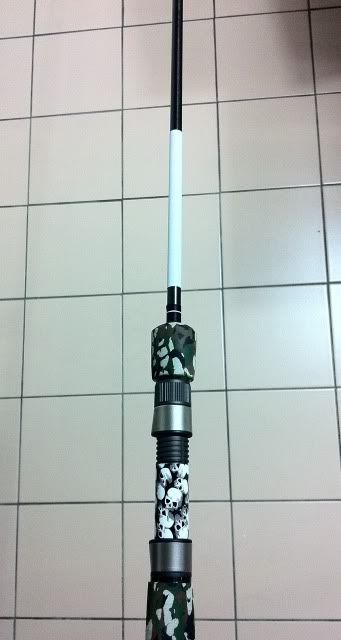

White thread wrapped across the area where the decal suppose to be and have it epoxied before I put on the decal to the rod.

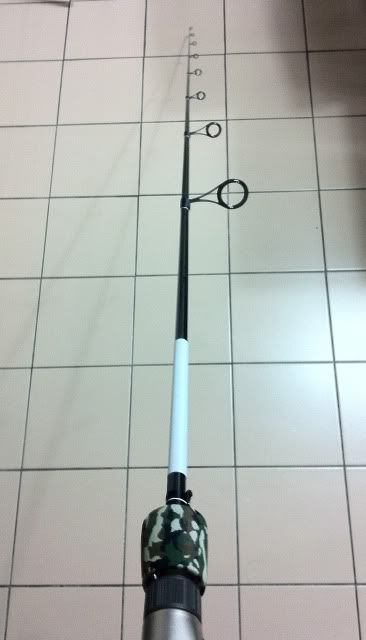
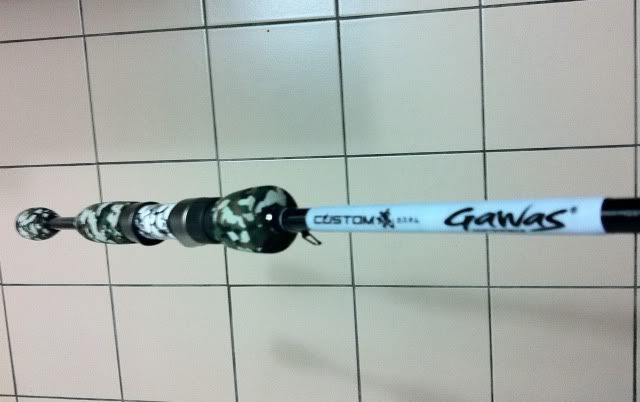


Another layer of epoxy is applied after the decal were fixed on to the rod and also the guide wrappings.
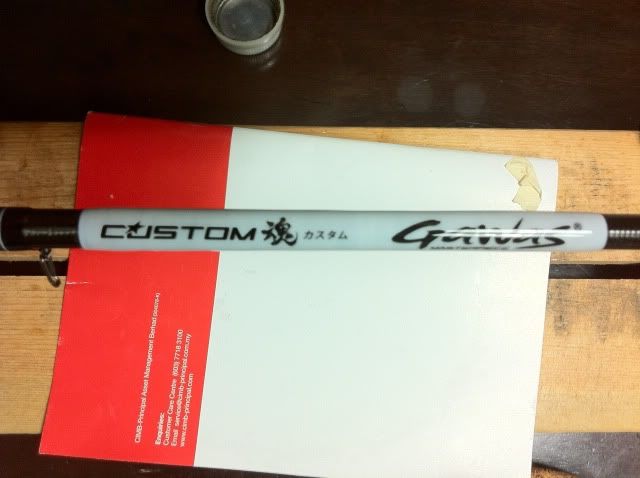
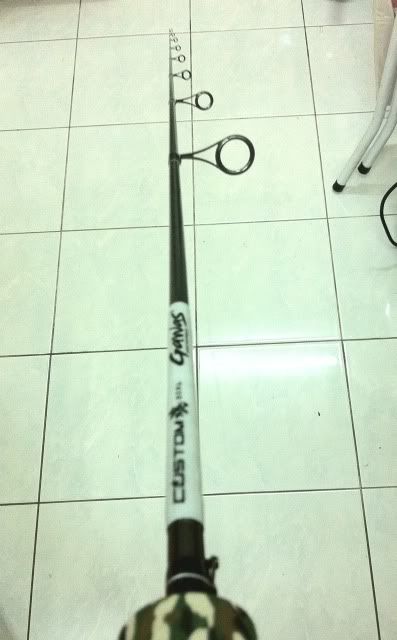
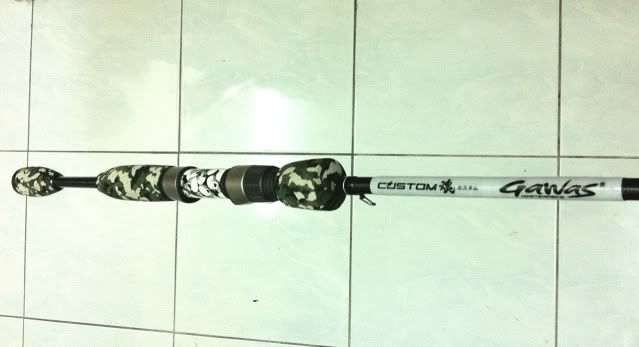
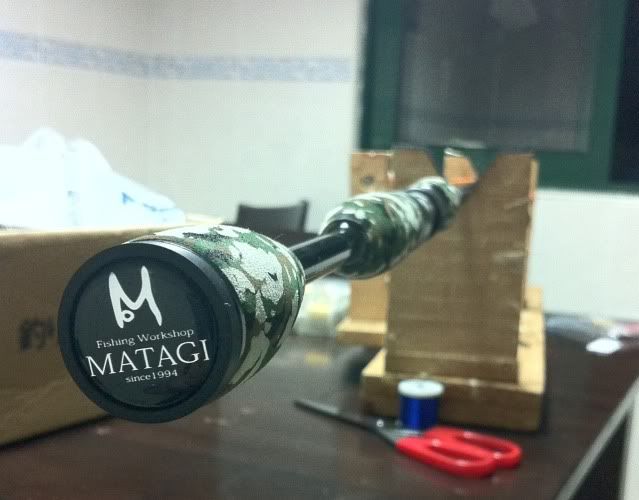


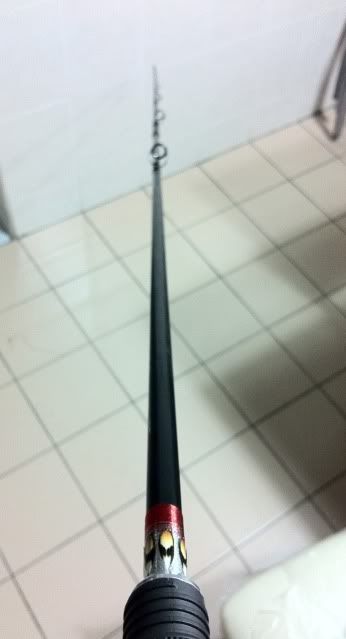
Completion of the "Custom GAWAS" with Matagi components.


Sunday, December 18, 2011

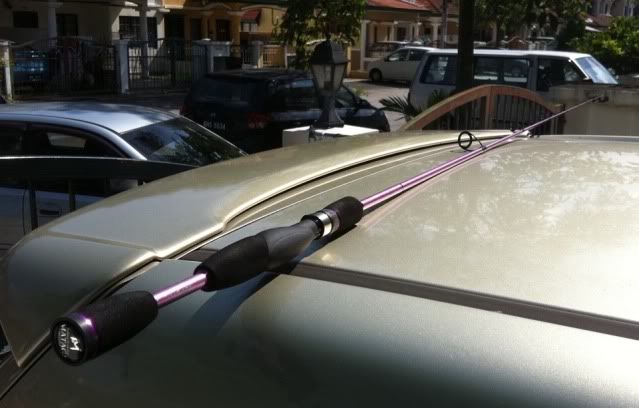
Completing AMZ St Croix Fuchsia 63MLXF

It did not took me that long to finish off this rod. I was away for a fishing trip but that was another story.

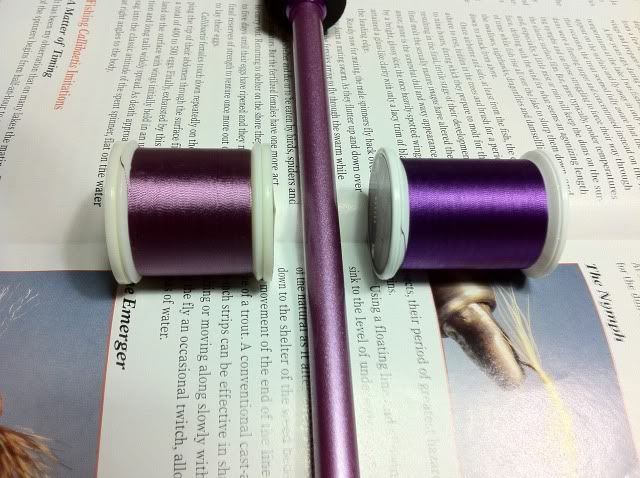
Anyway, it started off with the thread selection. 


The purple or the red....?

It was not that hard to choose. The purple looks to monotonous and I would go for the red...
Eventually it will be darker after epoxy.


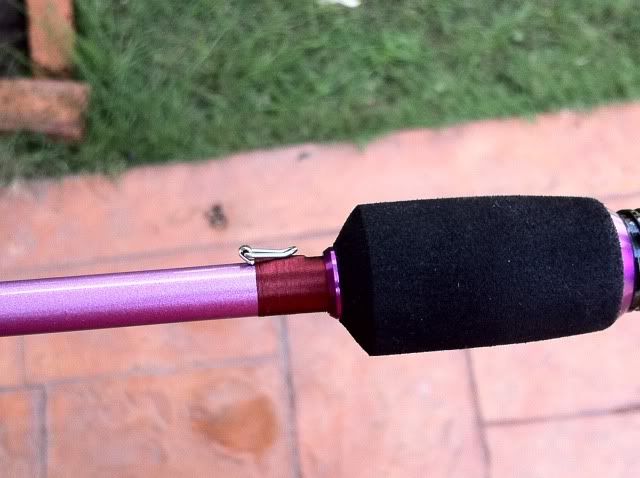
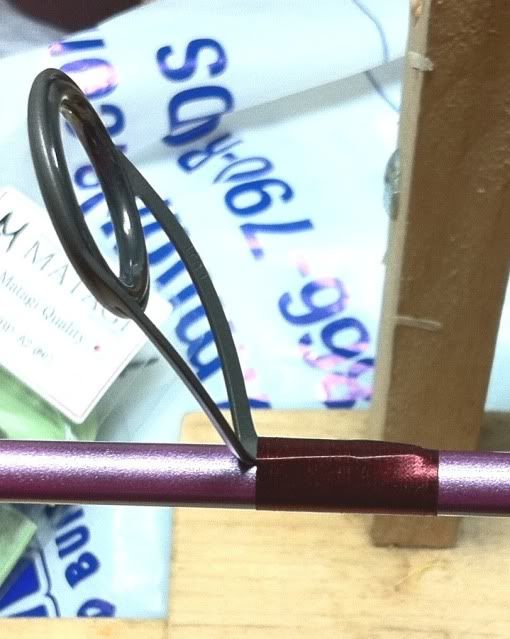
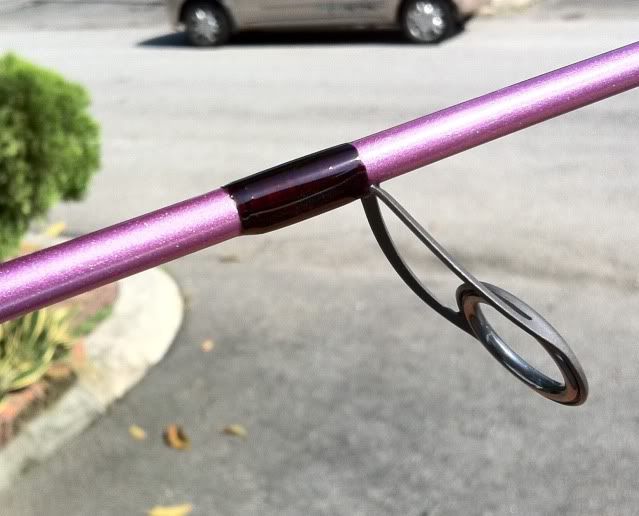
Wrapping of the hook keeper and  K-guides with the red nylon thread. 


After the epoxy, the red thread looks more like maroon color.


The final touch at the butt section... and done


After completed this rod, I took a short break and no rod building for a couple of weeks.

6th May 2012

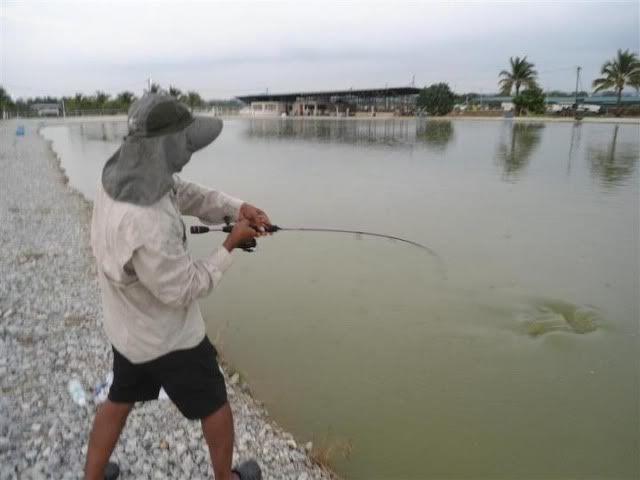
Here's an up date of the rod in action.
Photo courtesy of M. Azmari


My next project will be a Japanese blank.... and camo grip..

And here's the preview...


Friday, November 18, 2011

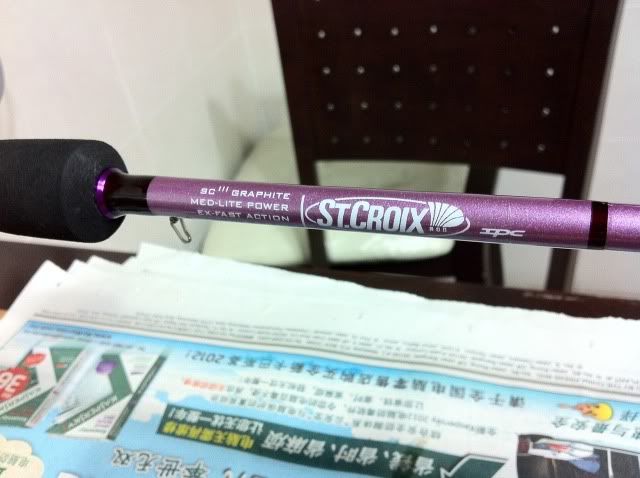
AMZ St Croix Fuchsia 63MLXF ...and components.
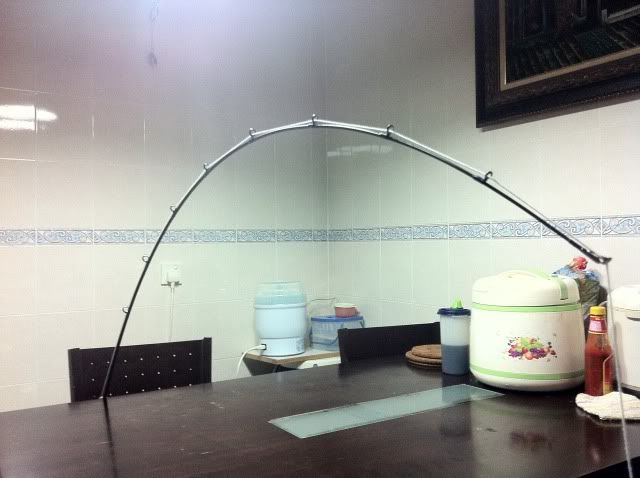
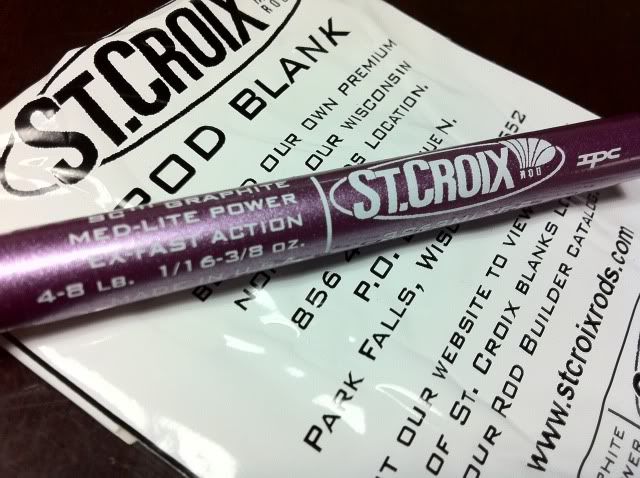
My avid Ultra-light weight fisherman friend wants a St Croix 3S63MLXF but unfortunately it was out of stock and he had "little" ( cannot say NO ) choice but to pick the the Fuchsia series.
This metallic purplish pinkish blank have a moderate soft tip and a stiff mid section. I would term this as "tip flex" action.


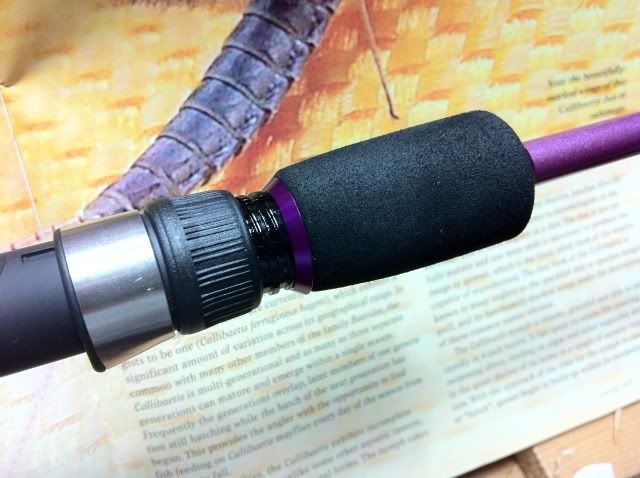
Amz wanted a comfortable handle for this rod and I proposed the American Tackle "AERO" reel seat.
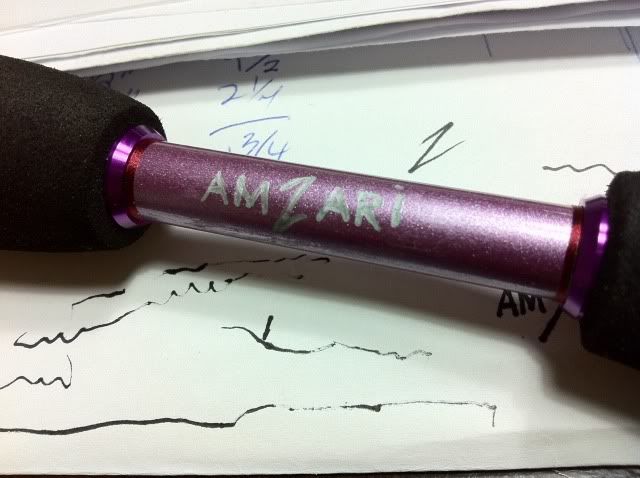
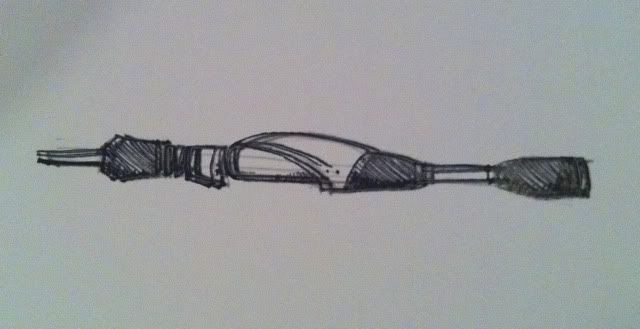
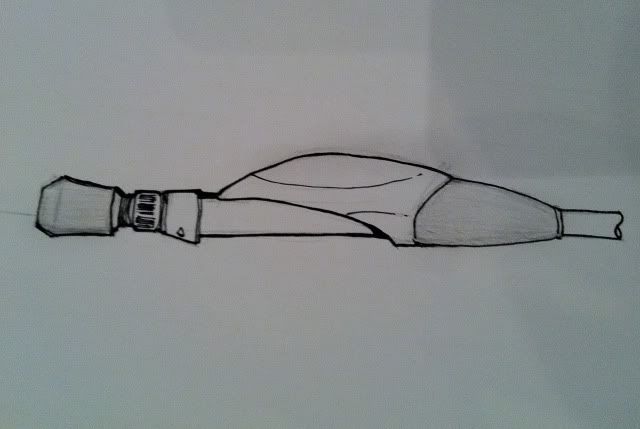
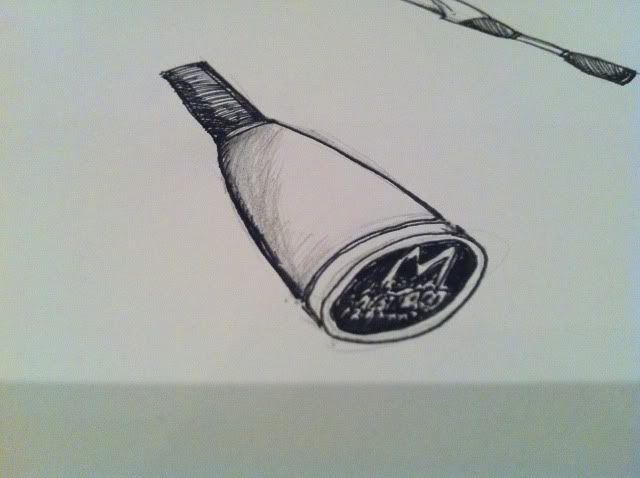
He gave the the dimension of the handle and I drew a sketch how the handle will look like...


Entire handle.


Fore grip and reel seat.


Fighting butt


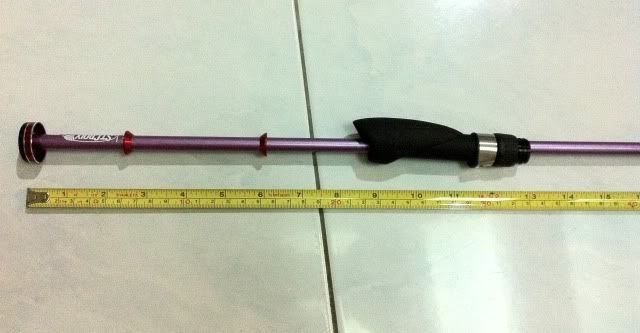
Measurements are then mark on the blank.


This is a mock up of the handle. It may or may not turn out exactly the same when finished. But the variance would be at a minimal.

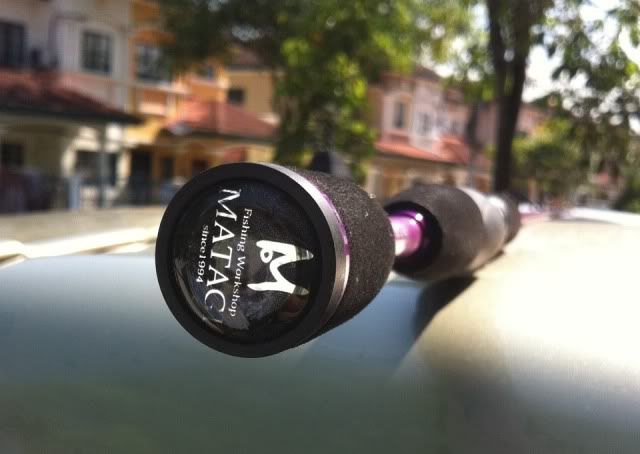
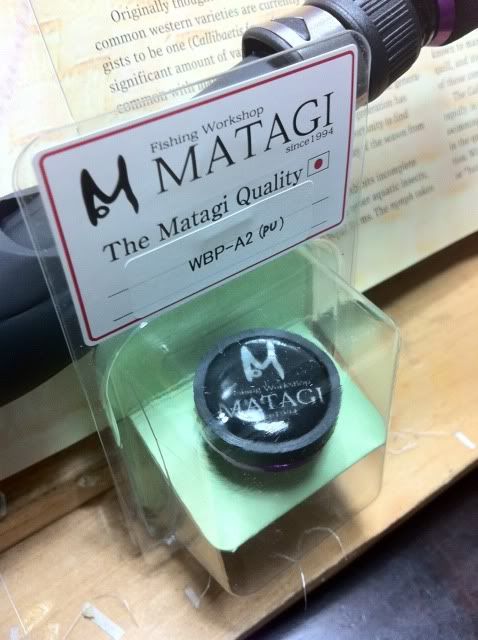
To spice this rod more... I have added a few Matagi components to this rod.


The butt cap and the female screw, just in case a balancer piece is required.


Aluminum trim piece above the reel seat for the fore grip.


And winding checks ...

Everything is completed..... next is to assemble.

Saturday, November 12, 2011

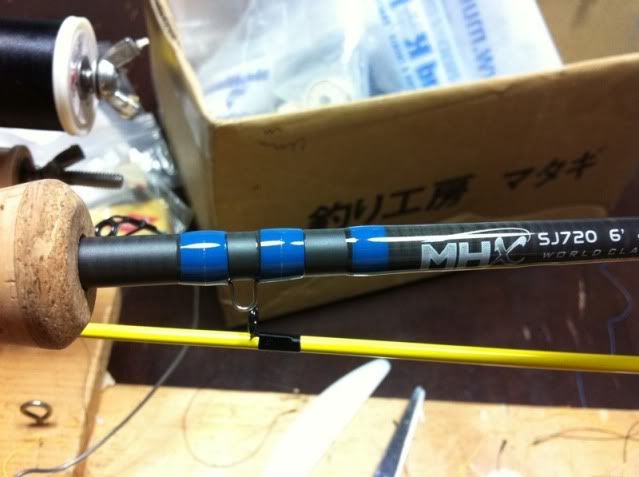
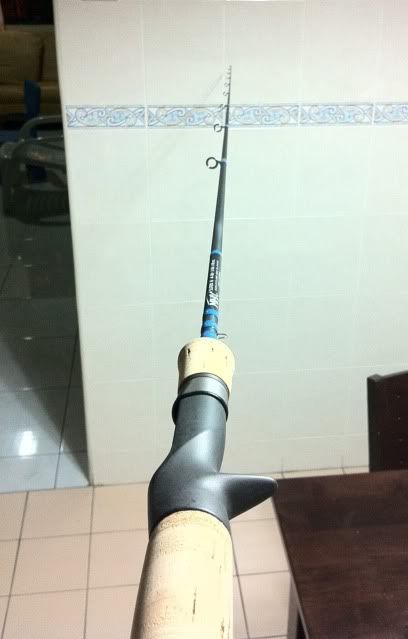
KANGeNiZeR MHX SJ720

Completed this casting rod from a spin-jig MHX blank last month and it was sent to my friend in Kelantan.
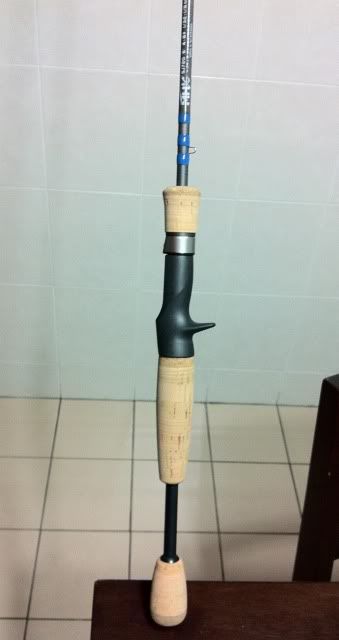
Simple built-up with PacBay micro guides, Fuji reel seat and cork split grip.

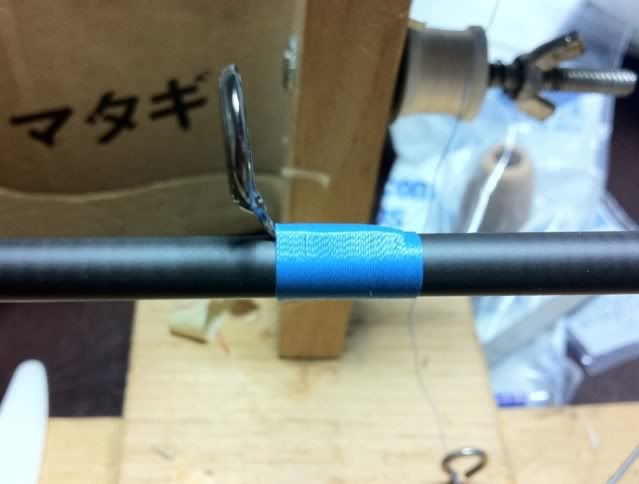
Wanting the rod to look something like the G.Loomis NXR rod, I used sky blue color thread for the wrapping.


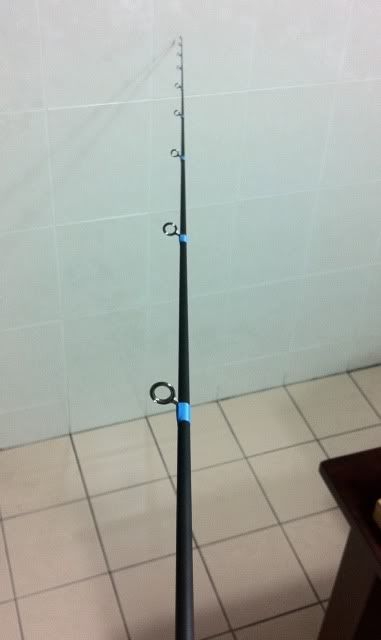
All single foot guides for this casting rod.


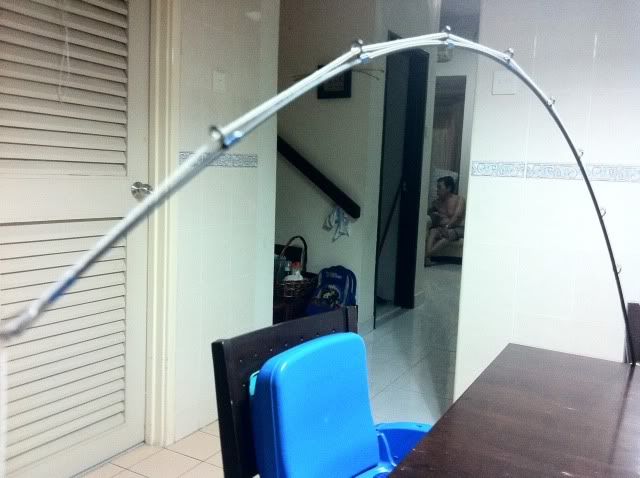
Static load testing were done to check the bending moment and the guides placement.


The completed rod with cork split grip.


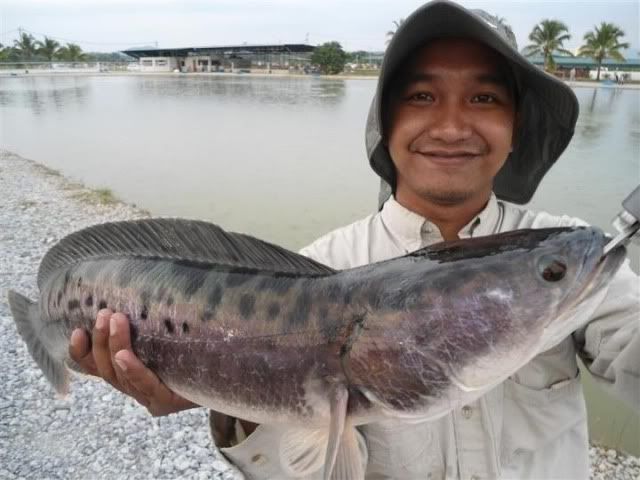
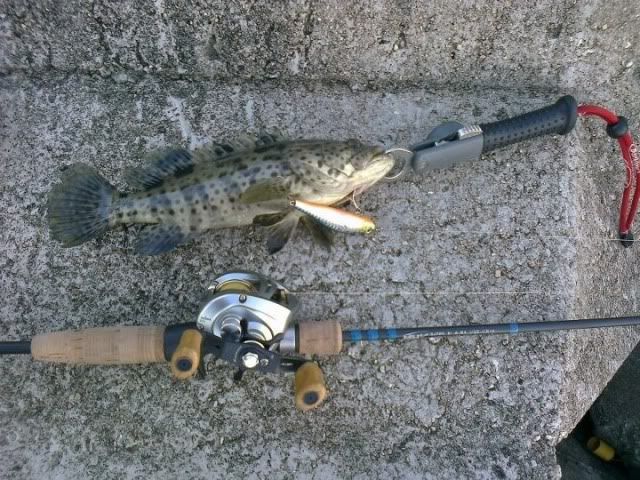
And this was the 1st catch on this rod....

Thursday, November 10, 2011

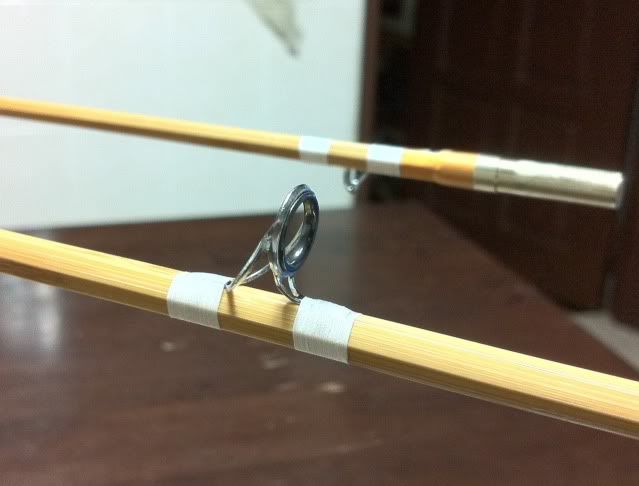
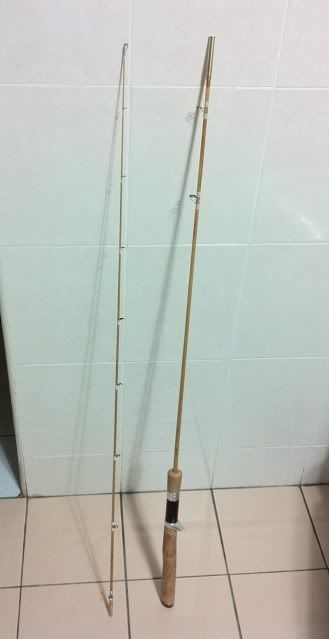
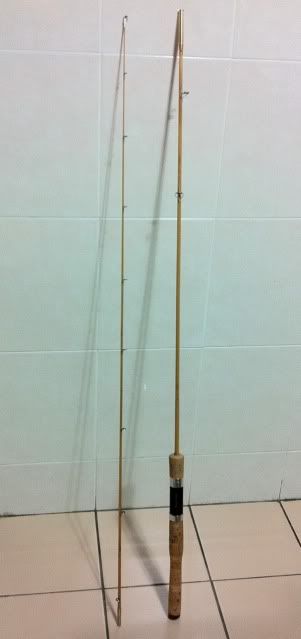
Finishing off my UL bamboo casting rod

This project was shelfed up on September 2011, I think it's time to complete it and put to test.

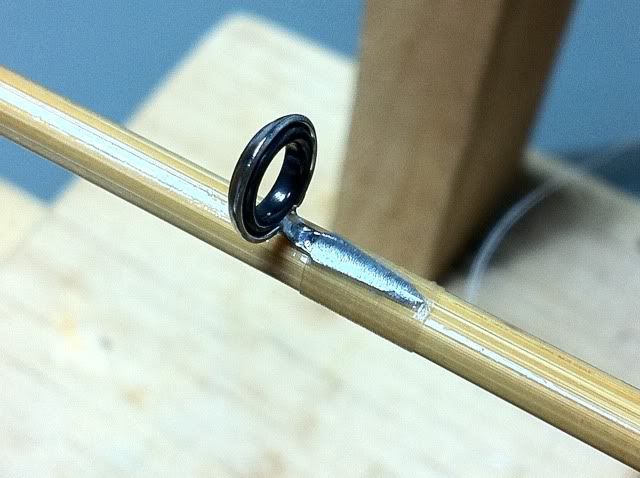
Following the style of my fly rods, I am giving it a transparent look on the guide wrapping.

Wrapped with Pearsall's Gossamer silk thread.


The wrappings are very visible before the application of the epoxy.


The effect of the wrapping after the 1st layer of epoxy. The guide foot can be clearly seen.


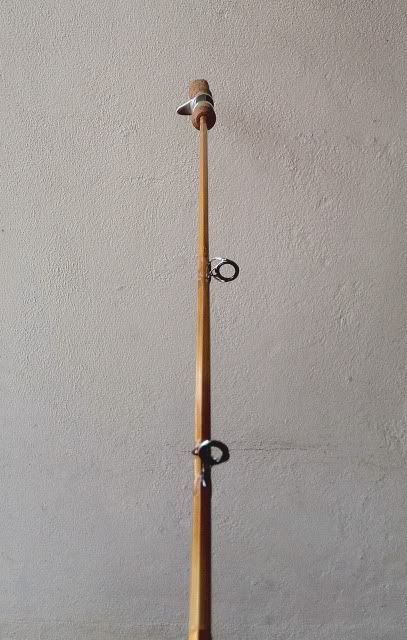
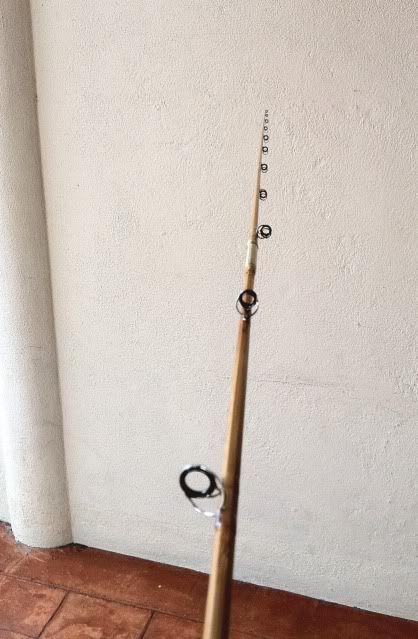
And, did I mentioned that I did a spiral guide placement for this rod.???
YUP....  I made this rod with a spiral guide placement. The ferrule joint of this rod is firm and tight , I should not have any problem of rod twisting during loading.


Next..............  to test this out....

Thursday, November 3, 2011

ZUL Barracast Refurbishment

After 6 months of rebuilding the handle of this spinning rod, we are going to convert it to a casting rod...


It was good that my friend have the time to do the stripping of the entire rod.... well almost the entire rod.
He have abit of left over of the reel seat for me to remove.


I have to use the hot air gun to soften the epoxy in the reel seat to have it removed.


The balance of the metallic silver paint and the reel seat removed.


Fitting of new ACS reel seat and aluminum winding check.


Shaped EVA split grip


Since the rod does not have fore grip, a feather inlay above the winding check will stand out on this black colored blank.


Simple black wrapping with metallic red thread trimming on Fuji SiC guides.


A view from the reel seat.


And this rod is finished off with a MATAGI butt cap.