Sunday, July 31, 2011

Another MHX

Done this rod for a friend. This project was running concurrently with the Lamiglas casting rod but this one told me slightly longer due to the weaving.

I got most of my rod parts from Matagi.


I made a mistake on the rear EVA grip. It was 3" longer than was intended.


Fortunately, it was not epoxied. I still managed to redo it.


My friend requested me to do put a carbon woven spacer in between the rear EVA grip.


Done with the reel seat and grips. Next the weaving,....


Black base with chrome metallic thread for the alphabet.

1st coat of epoxy.


And the 2nd coat of epoxy. That should be sufficient to cover the feather inlay on the rod.
As for the guide, I used Fuji SiC for this rod.


Simple black wrapping to the guides and that finished off the rod.

Friday, July 29, 2011

Lamiglas for Jeremy

The latest fiberglass casting rod I built is for Jeremy aka JC Mountain. He is not a "casting" type of guy but I hope with this fiberglass casting will change his view especially on the fiberglass rod.

As I was building the rod , I took photos of the rod and posted it on FB so that he knows the progress of his rod.

Here are the photos of the rod.

The 7' blank was shorten by 3" for easy storage ( in his monster truck ) and easy manouvering on the canoe.
Started off the reel seat. Fuji ACS.


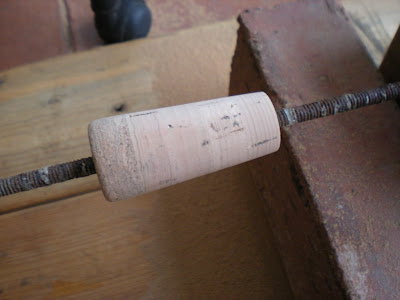
Shaping of cork grips and fighting butt. I always believed that "Honey Yellow" Lamiglas blank goes well with cork grips.


Fitting up the cork grip and fighting butt.

He wanted to put his signature on the rod. After 30 minutes of discussion, finally we found a place for his signature..... on the butt. I meant on the butt of the rod, just above the cork fighting butt.


Next would be the selection of thread colors. He picked burgundy red with gold thread spiral.
Before the actual thing, I did a sample wrap to the 3" cut off piece, with CP and without CP.


Top one with CP and the bottom one without CP.


After epoxy, the one with CP looks slightly brighter and this is the one he wanted.


I started with the hook keeper and he was kinda skeptical about the combination at first. Some friends commented that it look like sari. I had to take another photo a few feet away to convince him that it looks okay..


Can carry on with the rest...


When he saw the photos of my other builtd, he liked the feather inlay I did on the Lamiglas fly rod.
Looks classic... he says. Sure, I did that for him..  a double sided one. We called it " The Yin and the Yang".


The feather....then the eye..


and... the other side..


Lamiglas logo placed in between the Yin and Yang

Then the finish epoxy. It took a couple layers of epoxy to cover the feather inlay.

After a few weeks ........


Done... I am happy with this built , I hope he is too....

Monday, July 25, 2011

More photos of the "GORILLA" boat rod

It turned out to be a "OK"..


That's it....

Am looking forward for another rod project....

Saturday, July 16, 2011

The last 10% of the boat rod

Finally the last of the 10% of my boat rod... is in progress..


It's on the dry jig right now.....

Friday, July 15, 2011

My first boat rod for my dad

Started this rod project a month ago but I just managed to finished 90% of it. I have been tied up with my day job lately..

I purchased this Gorilla Offshore series blank from Mudhole. It's a tubular 6'6" glass blank with a solid glass tip and line weighted at 30~50lb.

Standard EVA fore and rear grip with a size 24 Fuji DPSH  heavy duty graphite reel seat. Finally, I have a rod to try out the dragon scale deco wrapping.


I used mono line for the base wrap and metallic red thread for the finishing wrap.
I am not sure why they always use metallic threads for heavy salt water rods but I just follow the way it is.

I think I still need more practice. The outcome of this dragon scale wrapping seems okay but I think the scale is slightly too big. I think it will look nicer if it is smaller.


I did a double layer wrapping for the guides, 1 base wrap and another top wrapping on the guides. I used metallic gold thread for that. It is not easy to do wrapping on top of another wrap. The base thread must be packed tightly so that no gaps should on the base wrap, in order to have a seamless top wrap over the guides.

My dad's previous boat rod had a normal straight guide placement and it was broken as the blank was damaged by the fishing line. So, I decided to do a spiral guide placement (Acid wrap) for this rod.


Now, I need to epoxy the rod and guide to complete the last 10% of it. I have never done any massive epoxy job before,  I hope it will goes well.