Tuesday, January 25, 2011

Another unpainted fiberglass fly rod project

Starting another .. but this time, it will be a two piece blank instead of the four piece. The tinting of this unpainted blank was done last month together with those 4 pieces blanks.

I try to make this rod slightly faster than the 4 piece by shortening the blank and apply 2 thin layers of Gorilla Glue onto the blanks. Gorilla glue will become hard when it dries. By adding it onto the blank, I hope it will slow down the deflection of the fiberglass blank.

This originally 6'10" blanks when fixed together was shorten to 6'6".
2" was cut away from it's tip and butt section.


Friday, January 21, 2011

Brown Fiberglass Fly Rod.

This rod was built during the past 2 weekends. Same blank but this one is painted from the factory.
I used an up locking reel seat for this rod. Titanium finished burl wood insert with engraved rings reel seat.
Another 6'9" 4sections 3 wt fiberglass rod.


Wednesday, January 12, 2011

Fiberglass blank and fly rod project ( Final Pt )

With the reel seat fixed and the wrapping varnished... Now, the rod is officially completed.
A 7' 4pc 3wt fiberglass fly rod with down locking wood insert reel seat.


This rod weighs 3.20 oz. on my digital scale.

Monday, January 10, 2011

Fiberglass blank and fly rod project ( Part II )

The translucent yellow blank was left to dry for 2 days before I started working only. First was the preparation of the cork grip ..


Lathed a simple fly grip for this rod.


 I was inspired by Kabuto, a renowned Japanese fly rod maker. His rods are meticulously crafted. 

I preferred this rod to be simple and finding the colors of wrapping thread was easy.


And this is the outcomes..

I have coated a thinned layer of epoxy over the threads and I will be finishing it off with a couple coating of spar polyurethane.


And, the reel seat is yet to be fixed  ....

Wednesday, January 5, 2011

Fiberglass blank and fly rod project ( Part 1)

A few months ago, I wrote an email to a friend of mine in China asking him to source some fiberglass rod blanks for me. Knowing which fiberglass blanks from well-known makers are expensive , let alone the shipping.

To most people, cheap things are never good in terms of quality, but to me, expensive stuff might not worth that much either. Eventually, it depends how one's perception on quality.

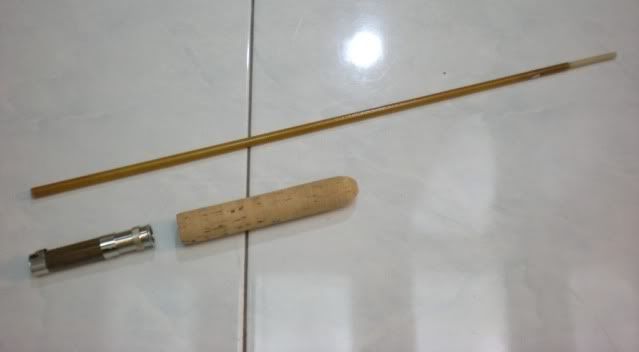
Anyway, my friend sent me a couple of painted and unpainted fiberglass blanks for testing and my rod project. I must admit the quality of the unpainted fiberglass blanks are not as good as I expected it to be.The blanks was supposedly to be painted, so it is understandable that some flaws are visible on the bare finish fiberglass blank..

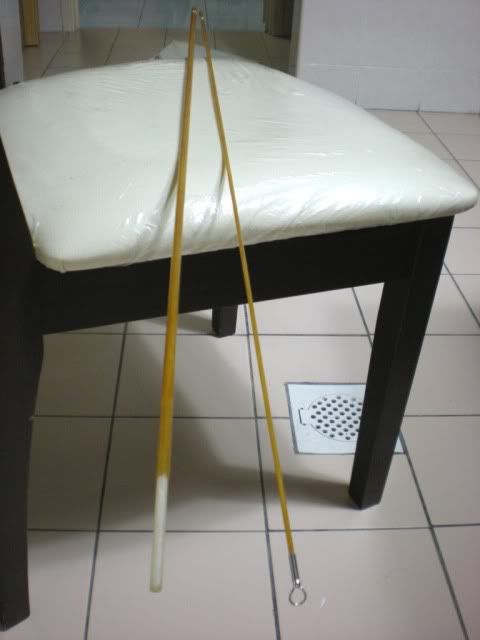
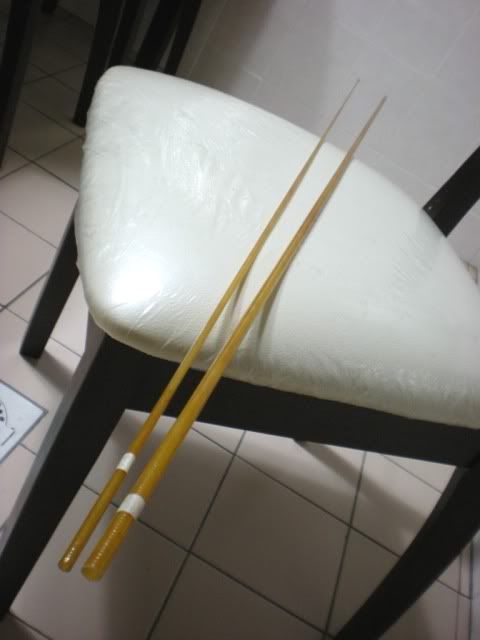
Brown fiberglass blank and unpainted fiberglass blank. (transparent white)

A closer look at the blanks

The brown fiberglass blank looks solid but the spiral fiberglass material still visible below the paint and the unpainted blank look transparently pale.

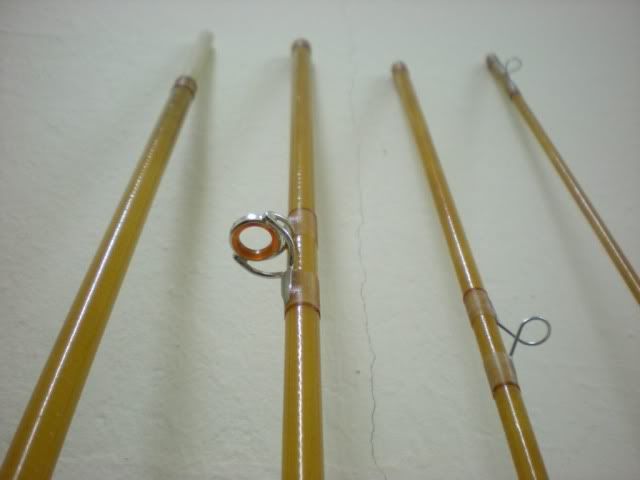
I tried to do some coloring process to the unpainted blank, in the same time I do not want to use aerosol paint on the blanks.That would only give it a solid color which I am trying to avoid. I tried several wood stain varnish on the blanks, giving it some color yet remain it translucent properties.

The result of many many testing....


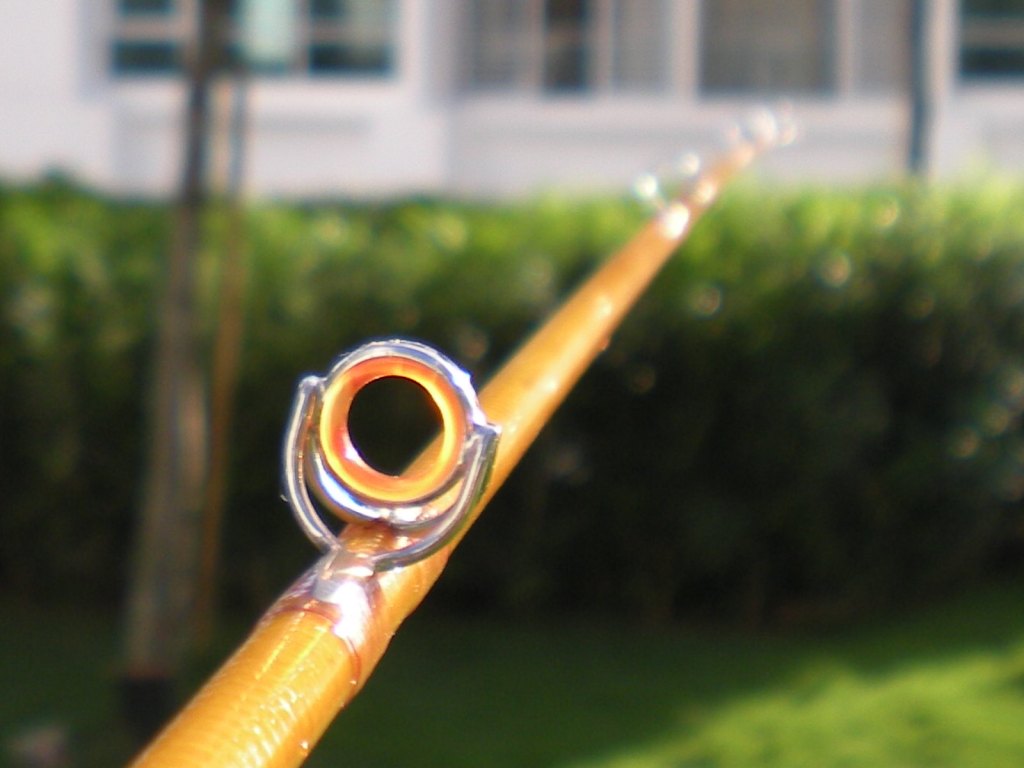
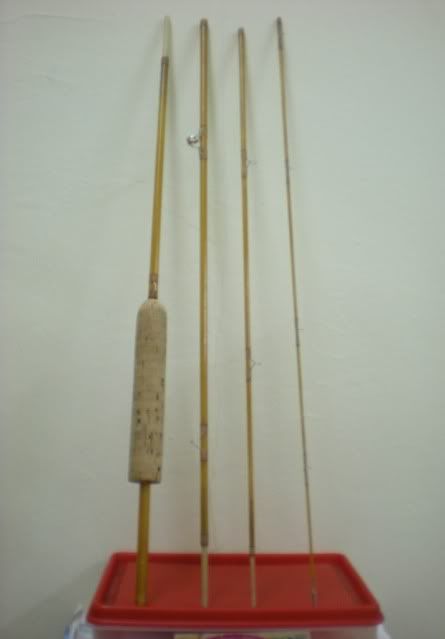
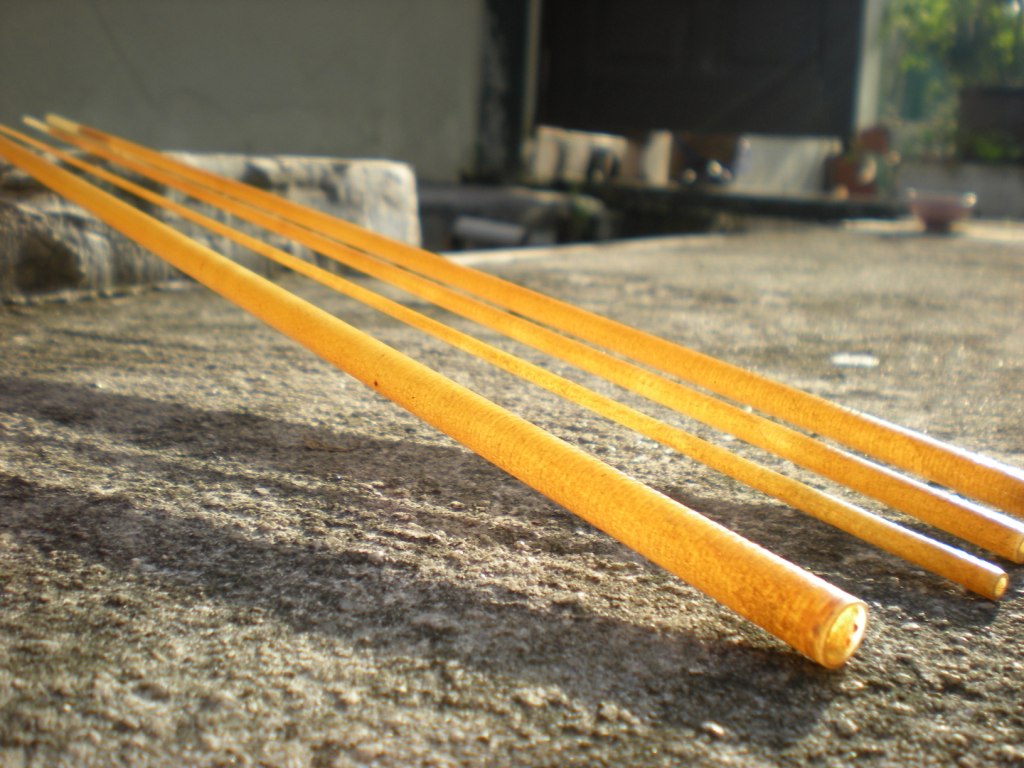
The outcome of the unpainted blank after a few coats of Polyurethane 


The yellow stained blank looks different indoors.
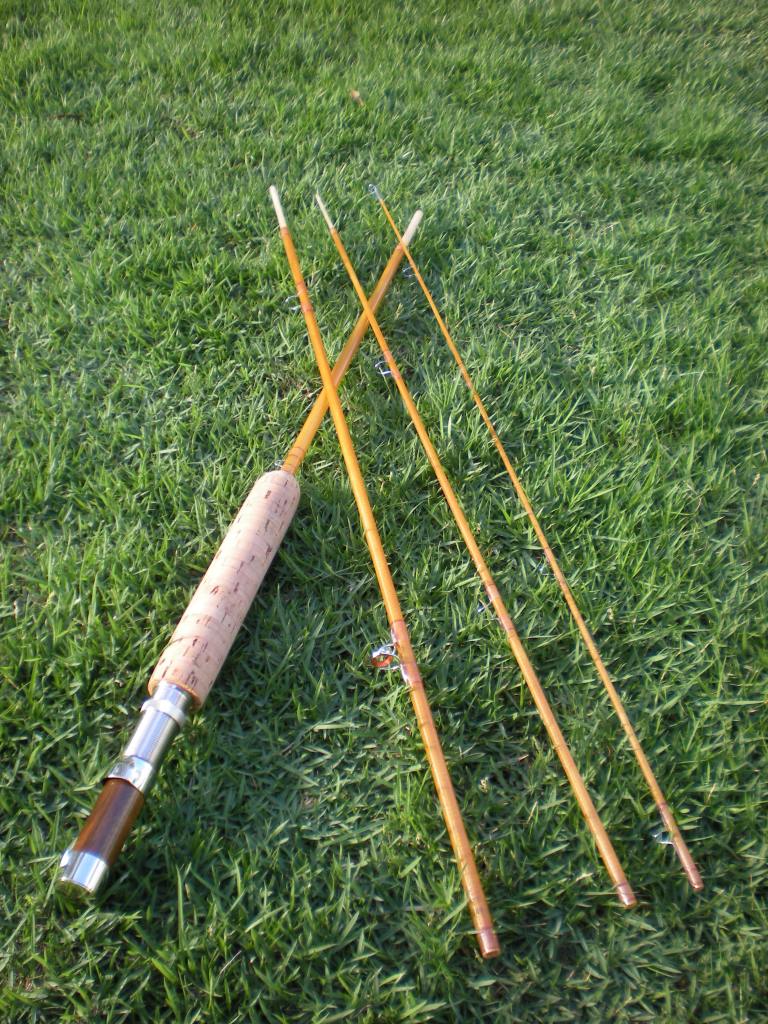

Next..........  Building the rod

Tuesday, January 4, 2011

Bamboo blank for my offset grip handle

Nope, my MHX IM6 8~14lb is not completed yet. Still pending epoxy.. It's still missing the top guide. I thought I have one somewhere in my drawer but I could find it. I guess I have to order another one and put that rod a side for time being..

Picking it up from where I left off... my offset grip handle. I received my bamboo blank a few day back.
Reaming the cork grip handle to fit the blank.


The reel seat for this casting rod is pending stock from Matagi. They told me that the reel seat will be only available in Febuary and it will be a long wait before I could proceed further..

Sunday, January 2, 2011

Guides installation

Finally, I have got this rod wrapped thru' the New Year. Sounded like it took a year to complete this rod, from 2010 to 2011..

I wrapped the guides with Black color threads and trimmed with metallic silver thread.


A closer look...
Epoxy next....................